Chapter 19 Add Diary Entries
| Problems covered in this chapter |
|
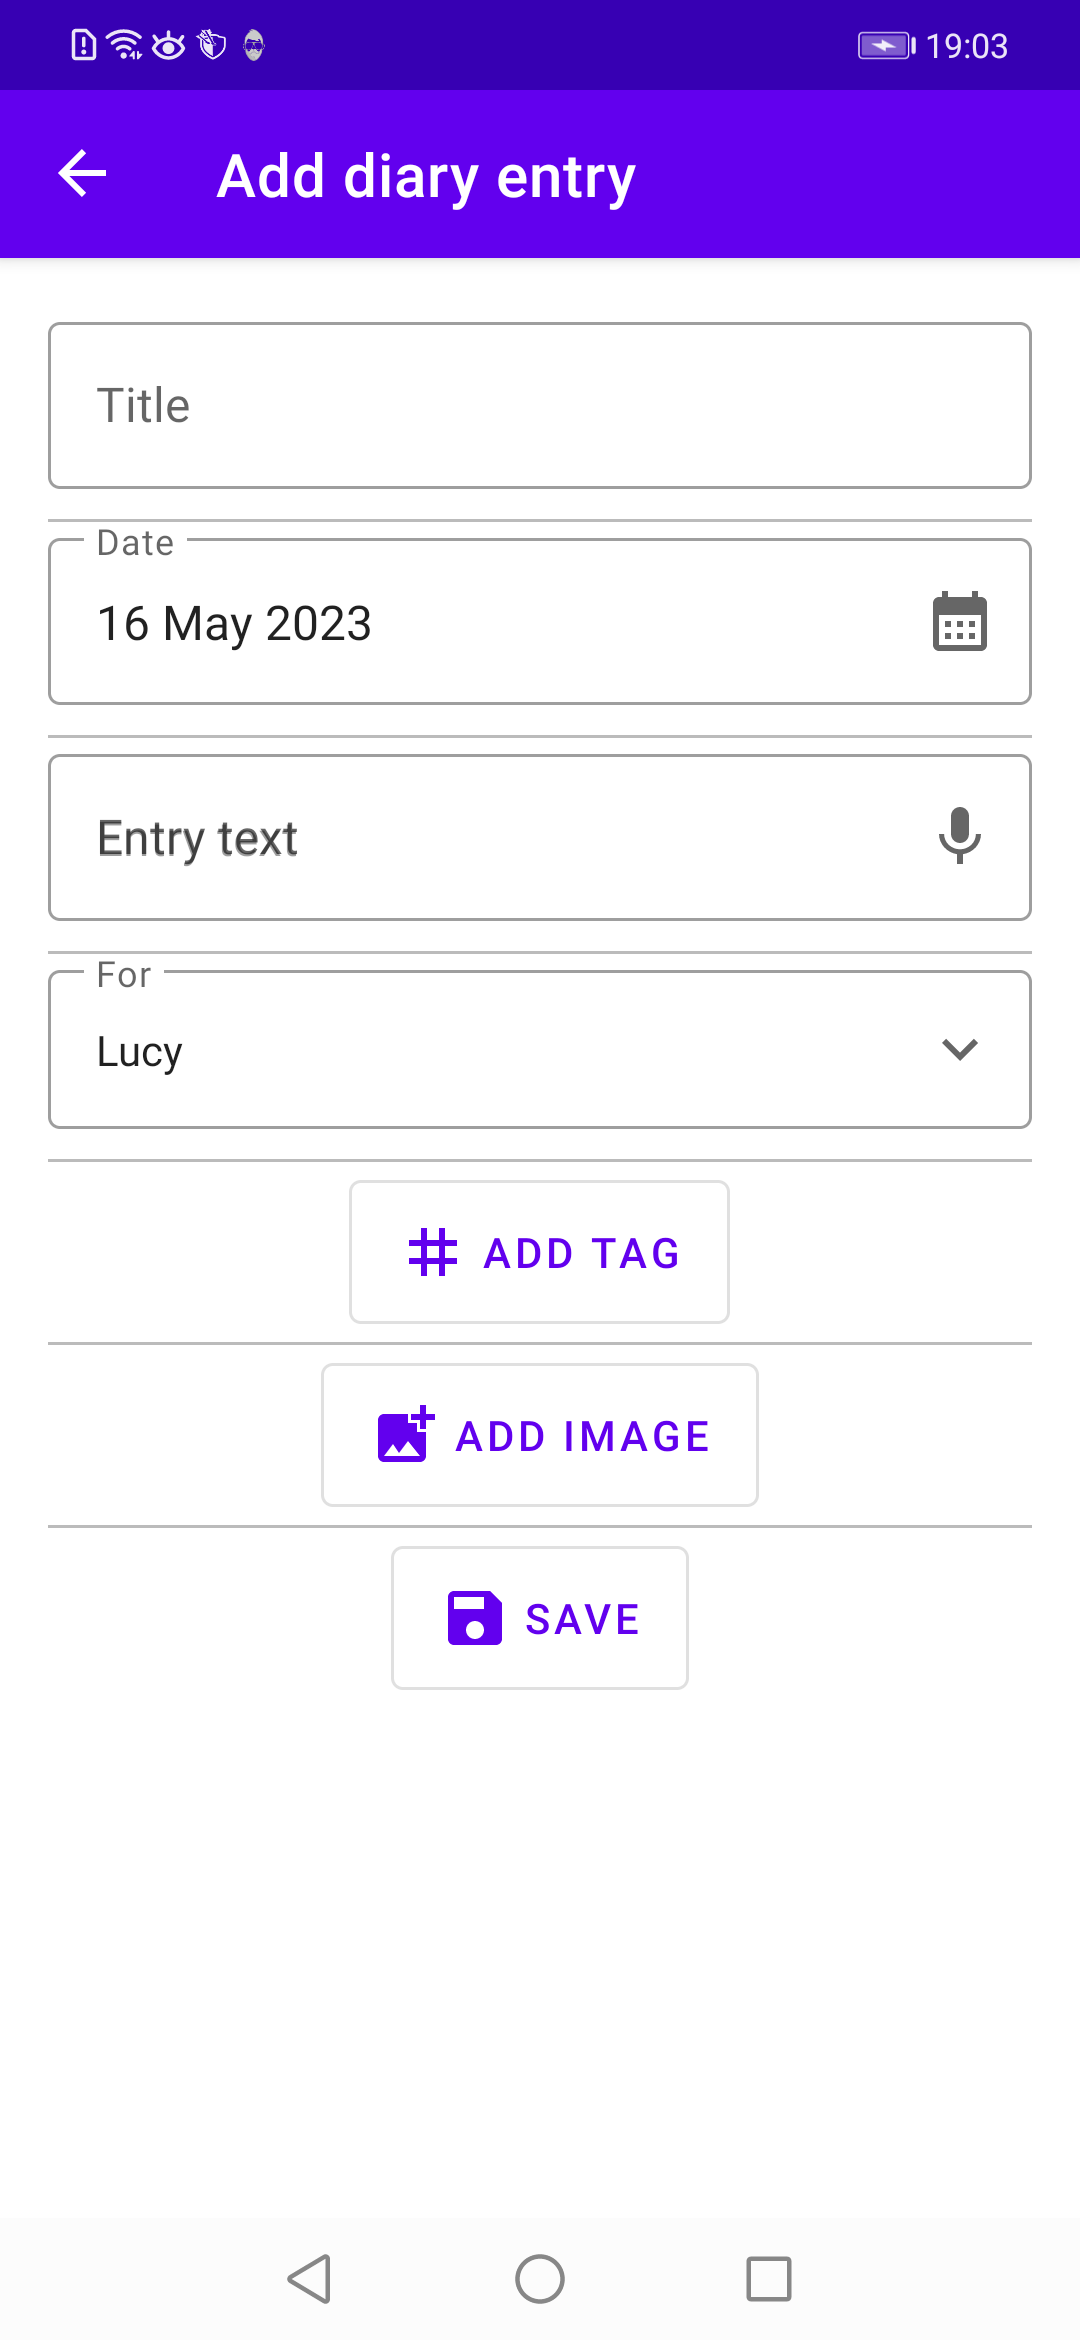
In the last chapter we covered the listing of diary entries stored in the database. In order to actually see entries in this list, we now enable the user to add new diary entries (see Figure 19.1).

Let’s start with our view model:
19.1 AddDiaryEntryViewModel.kt
What’s new to this class are the LiveData variables selectedTags and selectableTags: there we store the tags that are already assigned to the diary entry as well as the tags that are still available for assigning. There are correspongind methods, setSelectedTag() and deSelectTag() as well as setSelectableTags(), where these LiveData variables are modified in relation to the user’s actions. And notice the updateEntryAfterValidation() method where we store the new diary entry in table diary_entries as well as all assigned tags in table diary_entries_tags. If the user hasn’t assigned any tag we insert the dummy tag ’—’: we do this so that filtering (see Chapter XYZ) works in this case. And we define variables relevance and relevanceDataBindingVariable: since binding variables in the layout files cannot handle integer values we have to provide a means for converting them to string values which we then use in the layout files.
Let’s move on to the layout part. First, we add a new vector asset to our drawables folder: baseline_mic_24
Next we extend our string.xml files:
19.2 string.xml (English)
Next, we extend our themes.xml file with two new drawable-definitions and a new style CrudDiary_Button.AddTag:
19.3 themes.xml (Light-Mode)
Next, we add two (reusable) layout snippets that we then include in our fragment layout (by using the include-element). The first snippet is used for diary text input. We use an end icon to display a small microphone symbol in the TextInputLayout element since we want to enable the user to enter the text via speech input:
19.4 text_input_diary_text.xml
The second layout snippet is used for integer value input:
19.5 text_input_generic.xml.xml
Now we define a dialog layout that pops up when the user clicks the ’Add tag’ button. It takes care of those situations where either no tags have yet been inserted into the database or all available tags have already been assigned. Besides, we add a search view so that the user can search for a given tag which is handy if the tags list is quite long.
19.6 dialog_select_tag.xml
Next we define the actual layout for adding new diary entries:
19.7 fragment_add_diary_entry.xml
As you can see, we have reused several existing layout snippets and the new text_input_diary_text.xml layout file. There is also a tags area where all the assigned tags are shown as chips. This tags area is invisible as long as there are no tags assigned. Below this area we have a button for adding tags. Since we use a FlexboxLayout in our tags area, we have to adapt our build.xml file:
19.8 build.xml (App)
Because we need three additional form field validations, let’s extend our existing Validation.kt class with the new variables textValidation, personValidation and relevanceValidation. They make sure that the user enters an actual diary text, assigns a person to whom this diary entry belongs, and enters a valid relevance value, respectively:
19.9 Validation.kt
Next we add a new method doSpeechRecognition() to our BaseFragment class which handles speech input:
19.10 BaseFragment.kt
Now it is time to present our AddDiaryEntryFragment class:
19.11 AddDiaryEntryFragment.kt
********************* To Do: Explain code in above fragment
For getting from the diary entries list page to the ’Add diary entry’ page in our UI, two more tasks have to be done. First, we have to extend our existing DiaryEntriesListFragment:
19.12 DiaryEntriesListFragment.kt
And second we have to extend our navigation graph with our new fragment.
19.13 nav_graph.xml
With all these new files and extensions of existing files, the code should now rebuild and run on a (virtual) device. If you tap on the FAB at the bottom of the diary entries list, you get to the input mask for adding a new diary entry (see Figure 19.1). Please notice that Lucy is already assigned as the person to whom this diary entry belongs. This is because we set Lucy as the main user in the preferences menu.
If you click on the ’Add tag’ button, a dialog is presented containing all assignable tags (see Figure 19.2).

Tags can only be assigned once, therefore if you reclick the ’Add tag’ button, you will be presented only with tags that haven’t been assigned so far. After selecting tags, these are presented in the tags area above the ’Add tag’ button (see Figure 19.3).

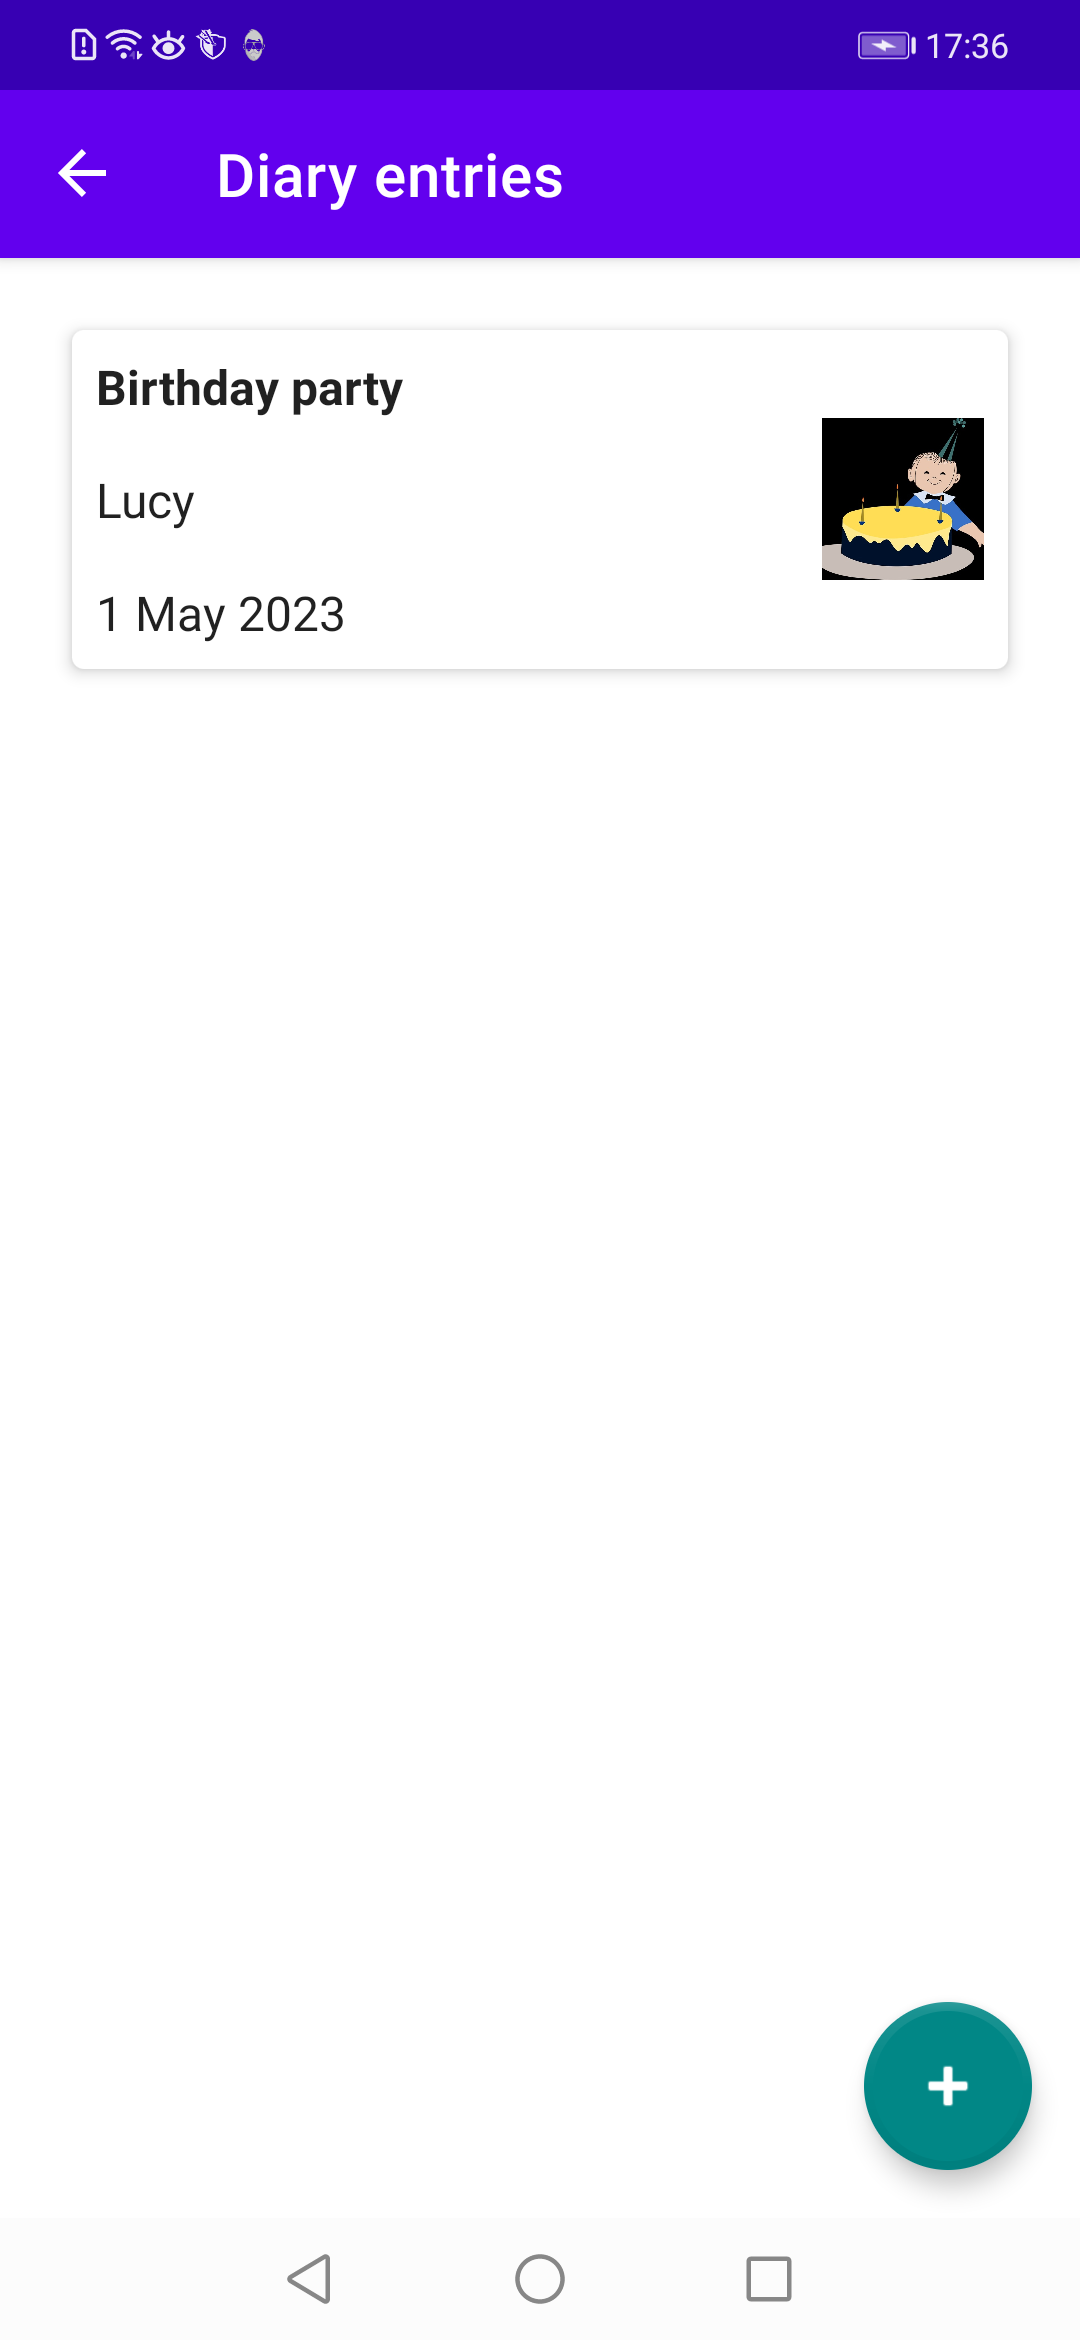
After adding a diary entry you return to the diary entries list containing the item just added (see Figure 19.4).
