Chapter 13 Add Persons
| Problems covered in this chapter |
|
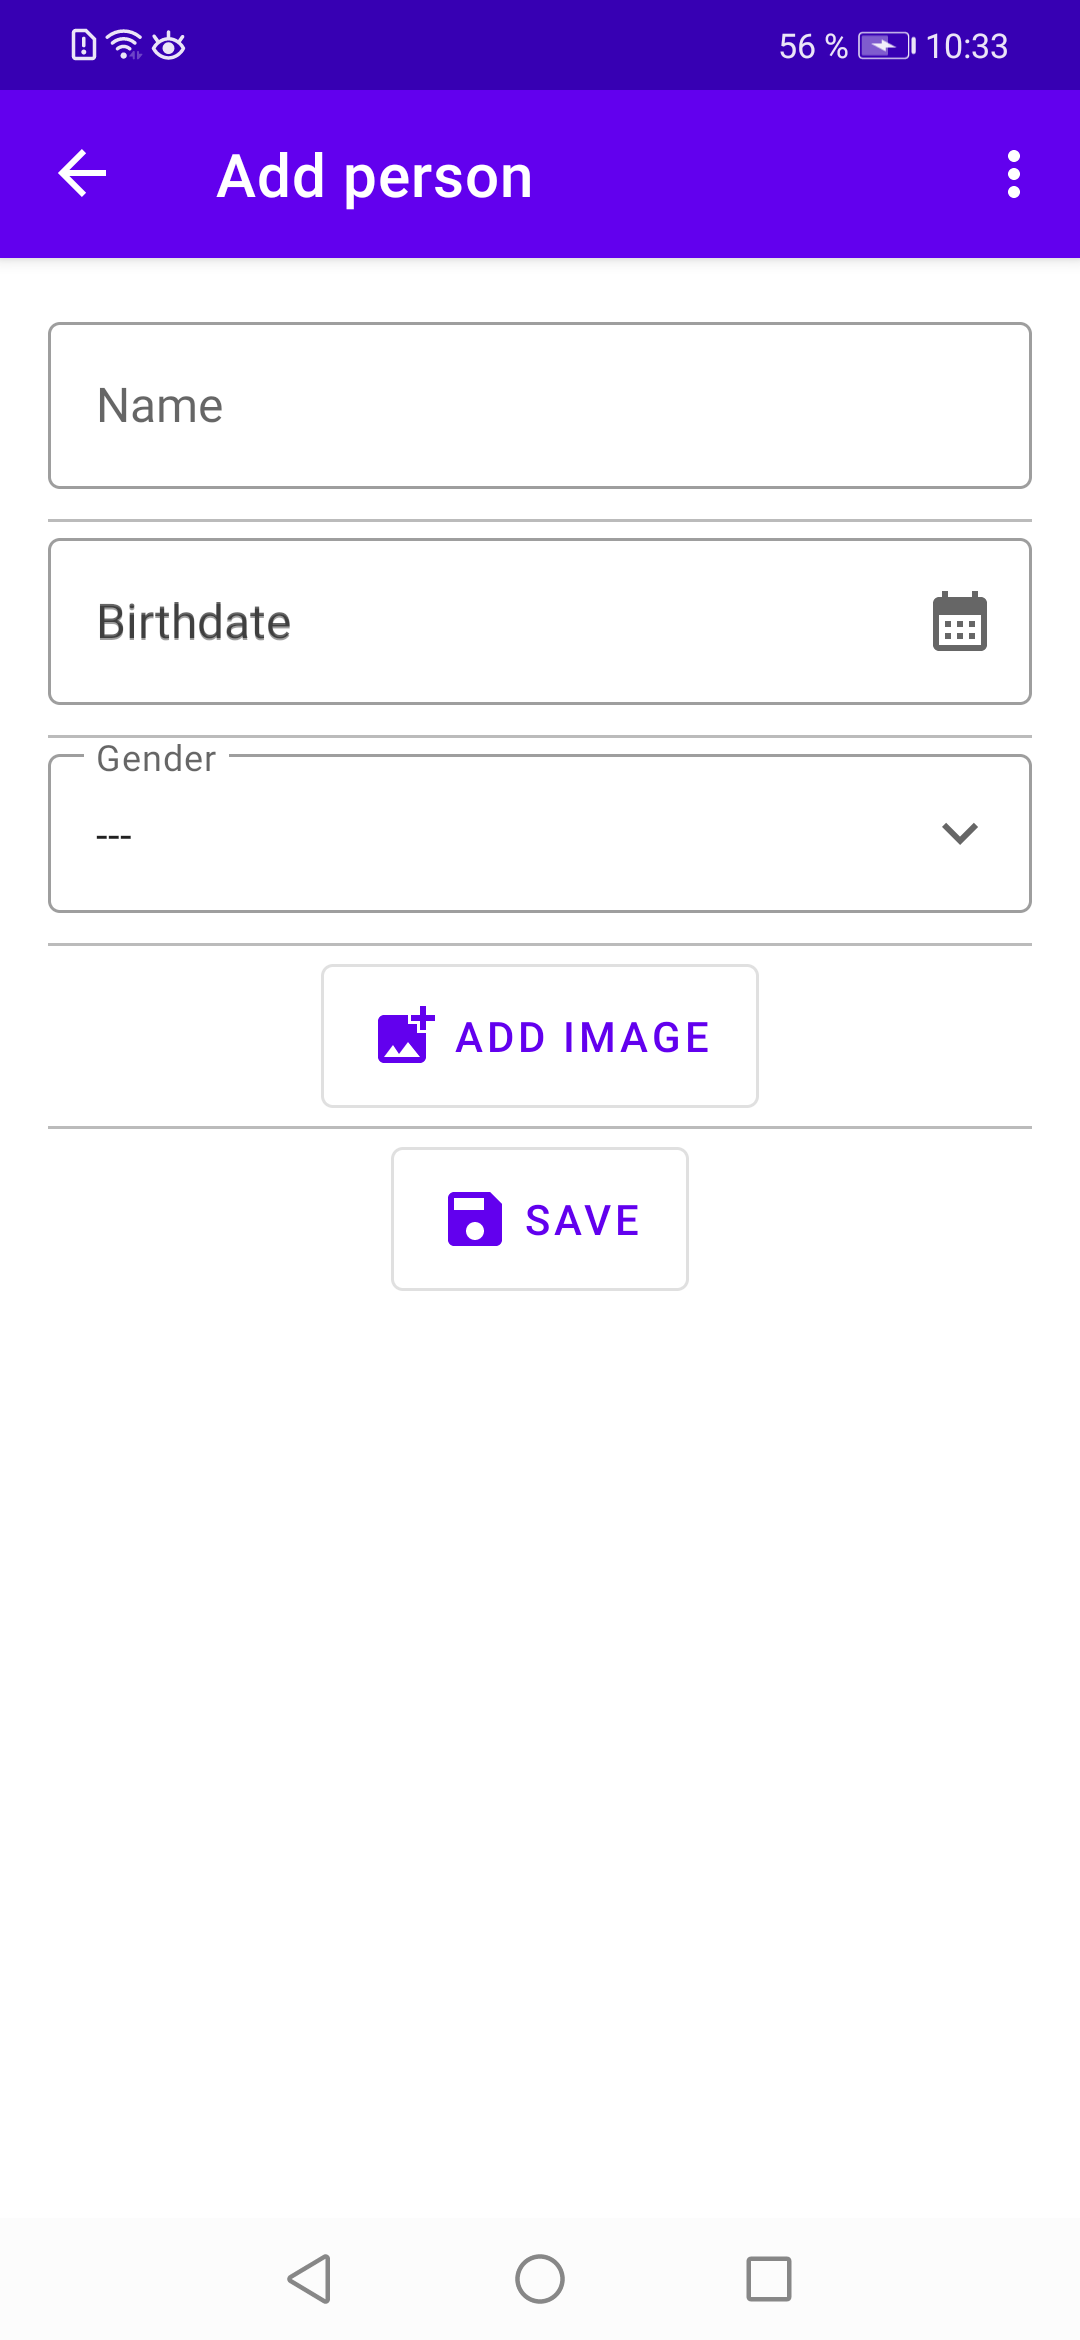
In the last chapter we covered the listing of persons stored in the database. In order to actually see persons in this list, we now enable the user to add new persons (see Figure 13.1).

We start by adding an interface to our data-package:
13.1 Spinnable.kt
We use this simple interface for all data classes whose values are displayed in drop down boxes in the UI. For example, when the user adds a person, the person’s gender should be selectable from a drop down box providing all possible genders. Let’s extend our existing Gender data class by this interface:
13.2 Gender.kt
Later on we will also extend the Person data class since persons should be selectable in a drop down box in the UI when adding new diary entries. Using an interface for all classes that can be selected in a drop down box lets us use a more concise code for this task.
13.3 BaseViewModel.kt
Since the user can add images to persons, we add a couple of variables and methods in our BaseViewModel class that deal with image handling:
The method writeImage() saves images to the app’s private internal storage. That is, we do not store the image data in the database but in the device’s file system. When the user updates the image of an existing person (which we handle in a later chapter), we therefore have to check if there already exists an image file and if so we have to delete it: methods deleteOldImage() and checkNewImagePath() handle the logic for doing so. We also added the variables imageBitmap and defaultImage which hold the image’s bitmap data and a flag if the UI shoul display a default image in the persons list if the user didn’t enter the person’s (optional) image.
With all these extensions we are now able to present our view model:
13.4 AddPersonViewModel.kt
As with our GenderListViewModel from the previous chapter, we have a separate Factory-class which is passed a PersonDao object at initialization. The variable newPerson holds our new person object that gets inserted into the database after data validation and database constraint checking (the name of the person has to be unique, a gender has to be set and the birthdate is mandatory, see the definition of the Person data class).
Let’s move on to the layout part. First, we add a couple of new vector assets to our drawables folder:
-
•
baseline_calendar_month_24
-
•
baseline_add_photo_alternate_24
-
•
baseline_photo_size_select_large_24
-
•
baseline_hide_image_24
-
•
baseline_keyboard_arrow_down_24
And we add a transparent shape for spacing buttons to the drawables folder:
13.5 button_space.xml
13.6 string.xml (English)
For our user interface, we have to add a couple of new string values to our string.xml files:
Next, we extend our themes.xml file with our previously added drawables and a couple of new styles for handling images and drop down boxes:
13.7 themes.xml (Light-Mode)
Next, we add a couple of reusable layout files that we then can include in our fragment layouts (by using the ¡include¿ element). For drop down boxes we use a pretty cool solution found on stackoverflow.com:
13.8 text_input_date.xml
The following layout snippet is used for date input fields. We use an end icon to display a small calendar icon in the TextInputLayout element.
13.9 spinner_generic.xml
The following code snippet is a combination of a regular TextInputEditText field with a Spinner element that together behave as a drop down box. Since the user’s input is stored in the TextInputEditText field we can use our form field validation mechanism as with any regular text field.
13.10 image_area.xml
The following layout snippet provides an area for the person’s image and an area for buttons to handle image input (Add image, Update image, Delete image). Visibility and labels are controlled dynamically depending on the user’s actual input.
With the above layout snippets in place we now define the actual layout for adding new persons:
13.11 fragment_add_person.xml
As you can see, we have also reused the layout snippets text_input_name and crud_buttons: like genders, persons have a name, and we need the same buttons for the CRUD actions.
For image input, we use a very nice library called Image Picker that enables us to pick an image either from the device’s file storage or by using the camera app. To use this library, we have to enable the jitpack.io Maven repository in our gradle.settings file:
13.12 settings.gradle
Next we add the Image Picker library to our build.xml file:
13.13 build.xml (App)
Because we need two additional form field validations for persons, let’s extend our existing Validation.kt class with the new variables birthdayValidation and genderValidation:
13.14 Validation.kt
For entering date values, our tutorial app uses the Date Time Picker mechanism. We define a generic class that works for any fragment/view model:
13.15 LambdaDatePicker.kt
As you can see, the class has a lambda parameter viewModelFunc in its constructor: This view model method gets called when the user has selected a date (and opional a time).
We need image and drop down box handling in several fragments, therefore we extract the reusable parts to our BaseFragment class:
13.16 BaseFragment.kt
Method initMaterialSpinnerData() initializes a drop down box with the passed in database items (listOfItems) - here we use our previously defined Spinnable interface, so we can use this method for genders, persons, tags and so on. The lambda viewModelFunc is a method from the corresponding view model that gets called when an item in the drop down box is selected by the user.
Method initImagePicking() sets an onClickListener for our ’Add image’ button. Basically, when the button is clicked, the Image Picker logic gets triggered and the user either selects an image from the device’s file storage or takes a picture with the device’s camera app.
Methods setDeleteImageButton() and setChangeImageButton() are used to toggle the labels of image handling buttons and set the visibility of the image area where we display the person’s image.
Now it is time to present our AddPersonFragment class using lots of the stuff we have presented above:
13.17 AddPersonFragment.kt
********************* To Do: Explain code in above fragment
For getting from the persons list page to the ’Add person’ page in our UI, two more tasks have to be done. First, we have to extend our existing PersonsListFragment:
13.18 PersonsListFragment.kt
And second we have to extend our navigation graph with our new fragment. On this occasion we have provided some readable labels with the android:label-attribute so that our menu titles look nice:
13.19 nav_graph.xml
With all these new files and extensions of existing files, the code should now rebuild and run on a (virtual) device. If you tap on the FAB at the bottom of the persons list, you get to the input mask for adding a new person (see Figure 13.1).

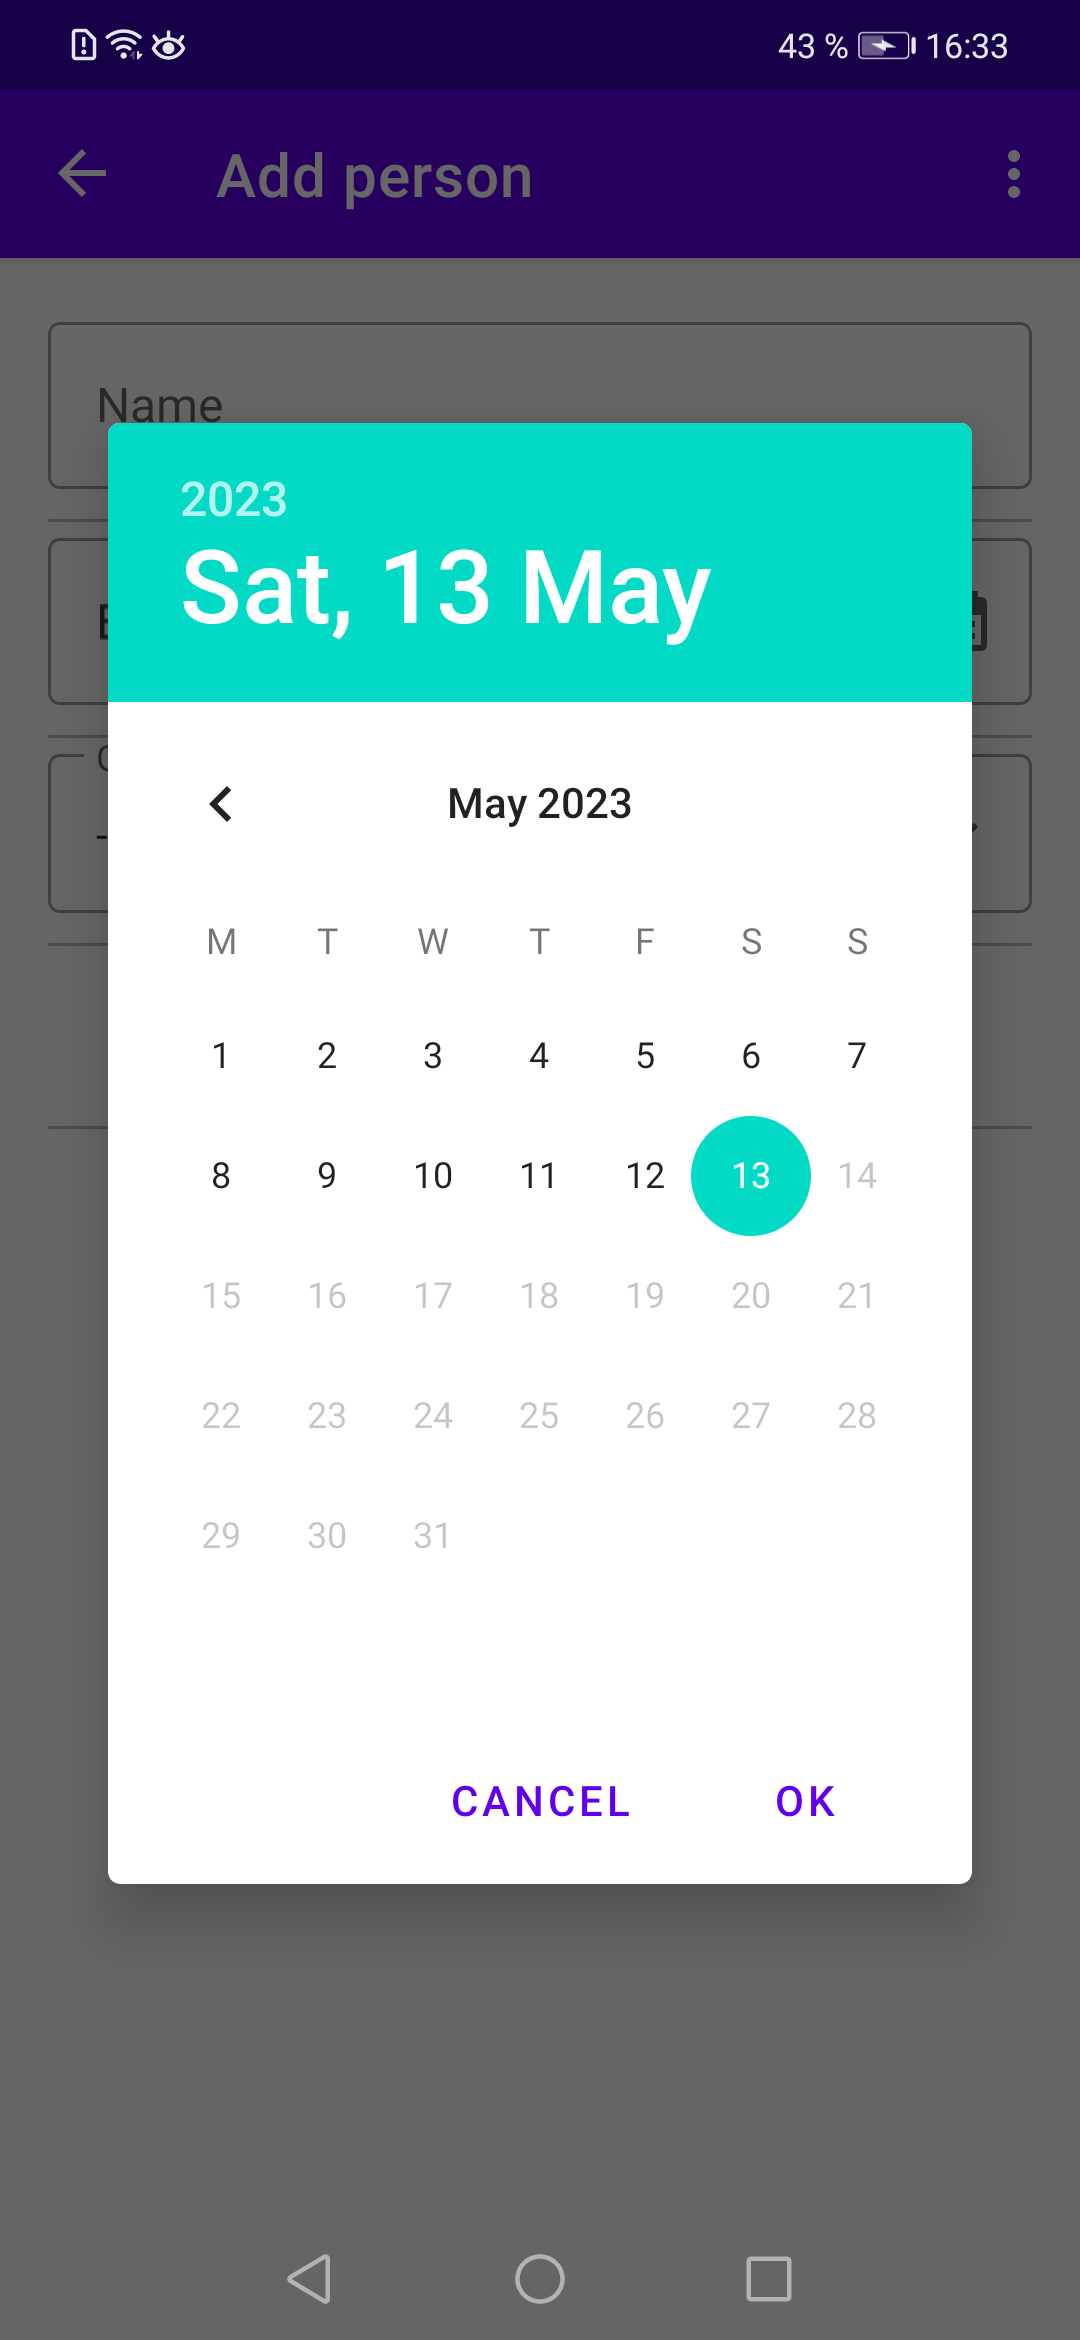
If you tap into the Birthdate input field, the date picker is opened and the user can set the date using this calendar widget (see Figure 13.2).

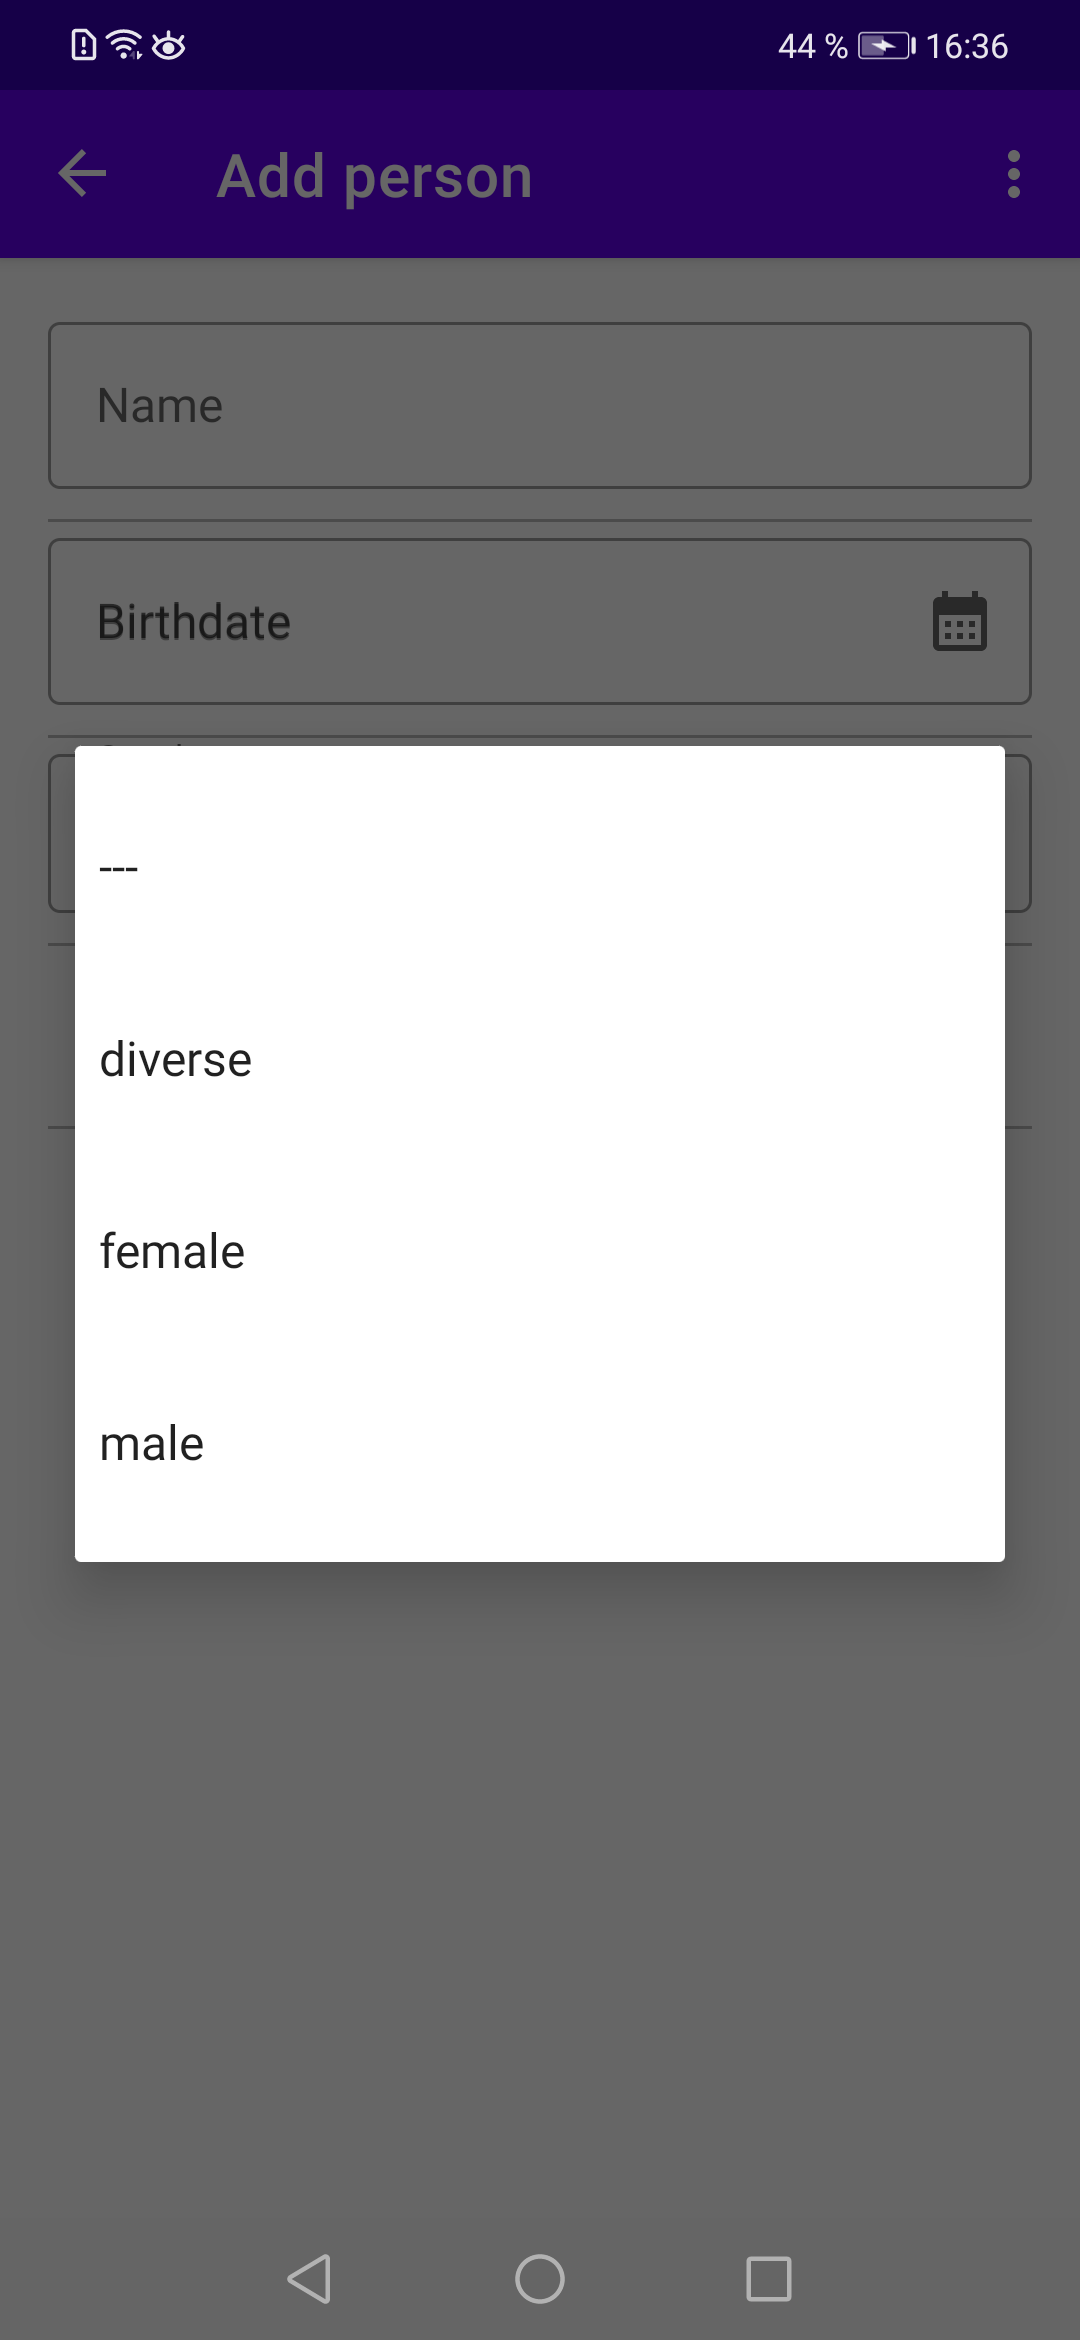
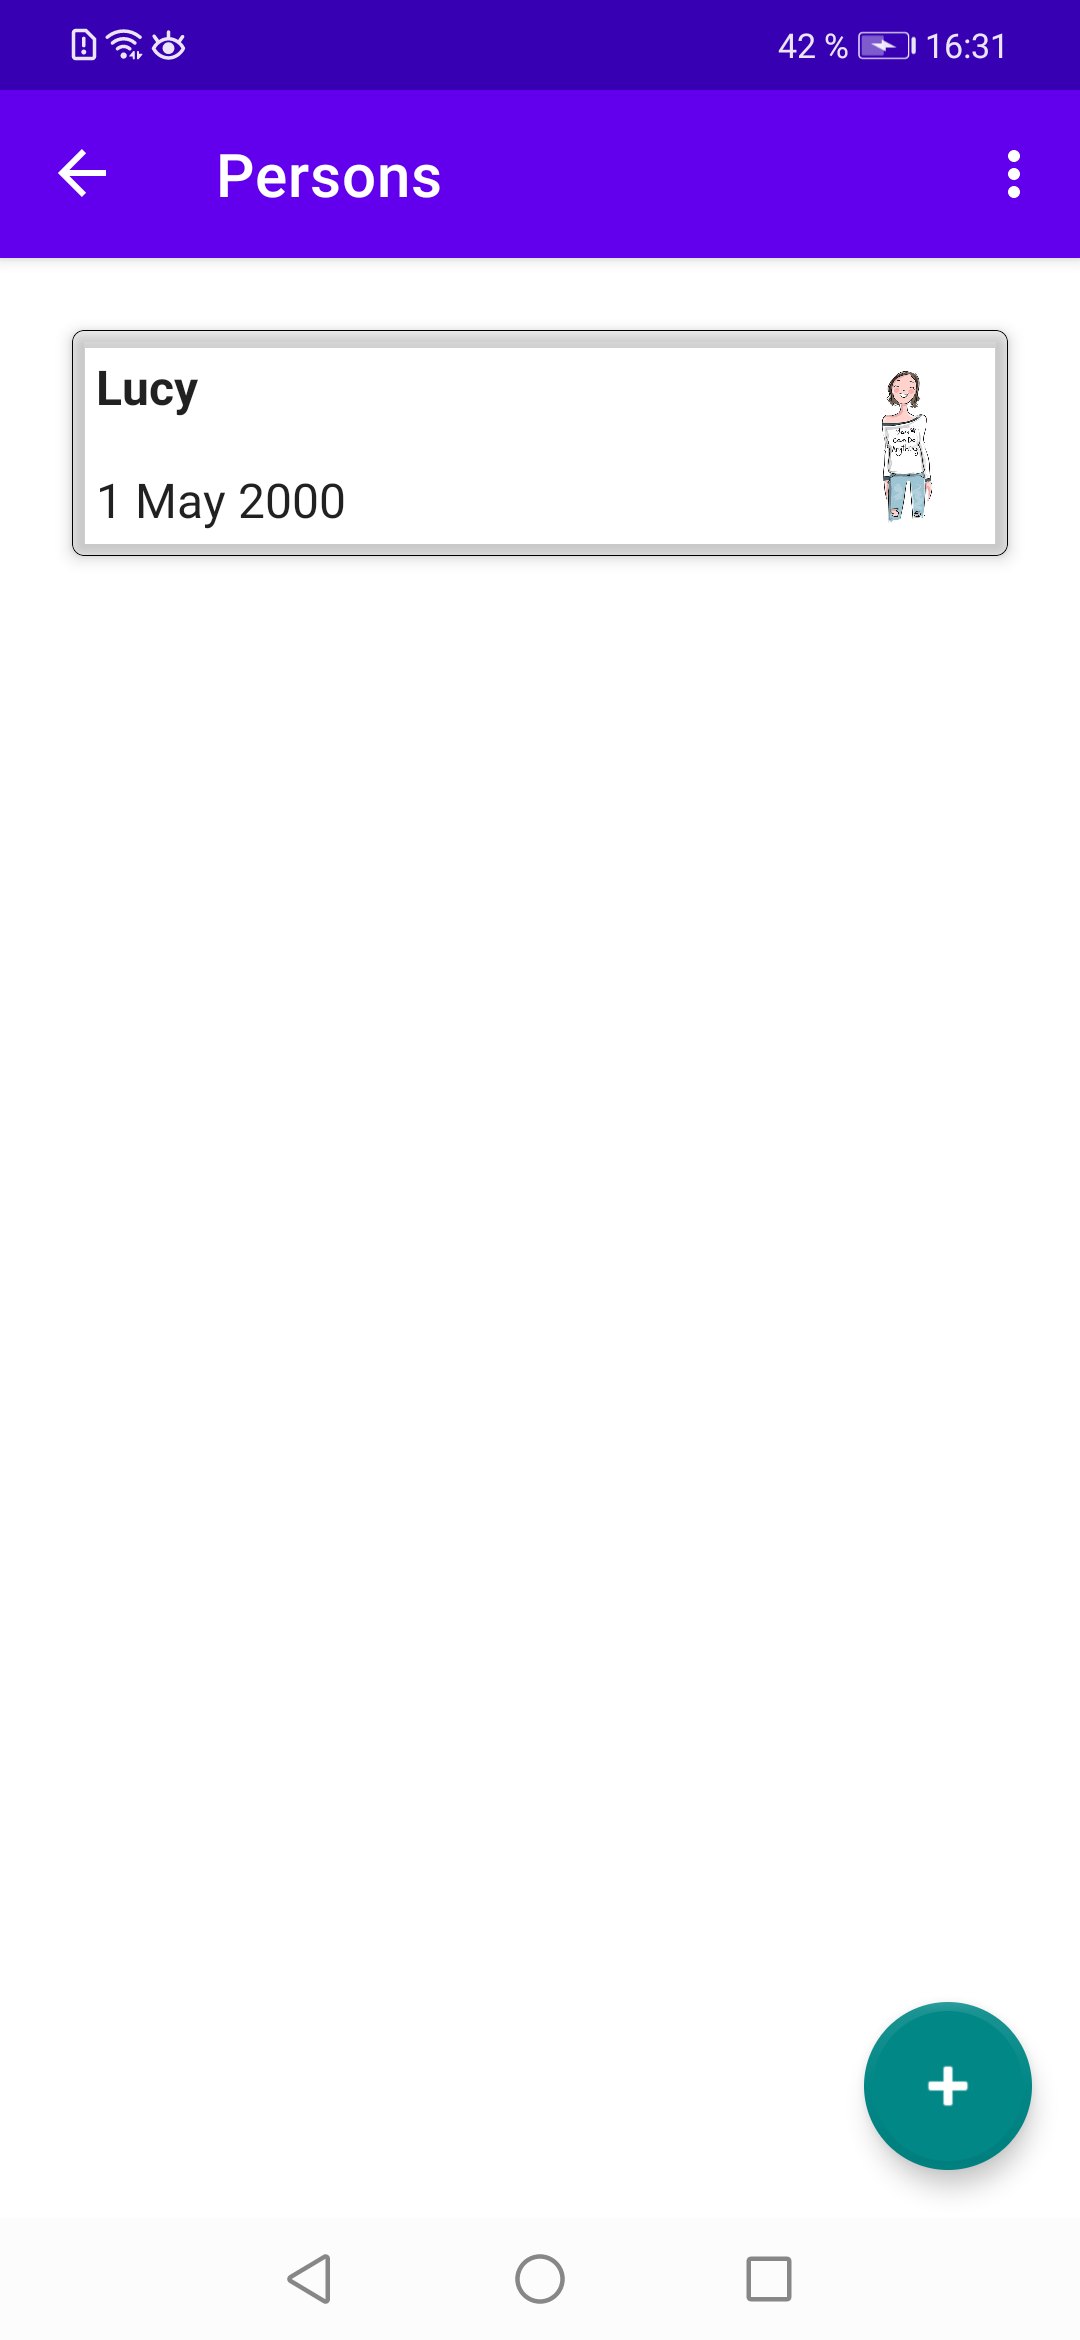
If you tap onto the Gender drop down box, you are provided with the genders list from the database (see Figure 13.3). If your provided all the necessary data and there was no database constraint violation (the person’s name has to be unique), the person gets added to the database and the list of persons shows the new person (see Figure 13.4).
