<resources>
<string name="app_name">CrudDiary</string>
<string name="nothing_selected" translatable="false">---</string>
<string name="male_gender">male</string>
<string name="female_gender">female</string>
<string name="diverse_gender">diverse</string>
<string name="main_menu_title">Home</string>
<string name="persons_list_menu_title">Persons</string>
<string name="persons_add_menu_title">Add person</string>
<string name="persons_update_menu_title">Update person</string>
<string name="tags_list_menu_title">Tags</string>
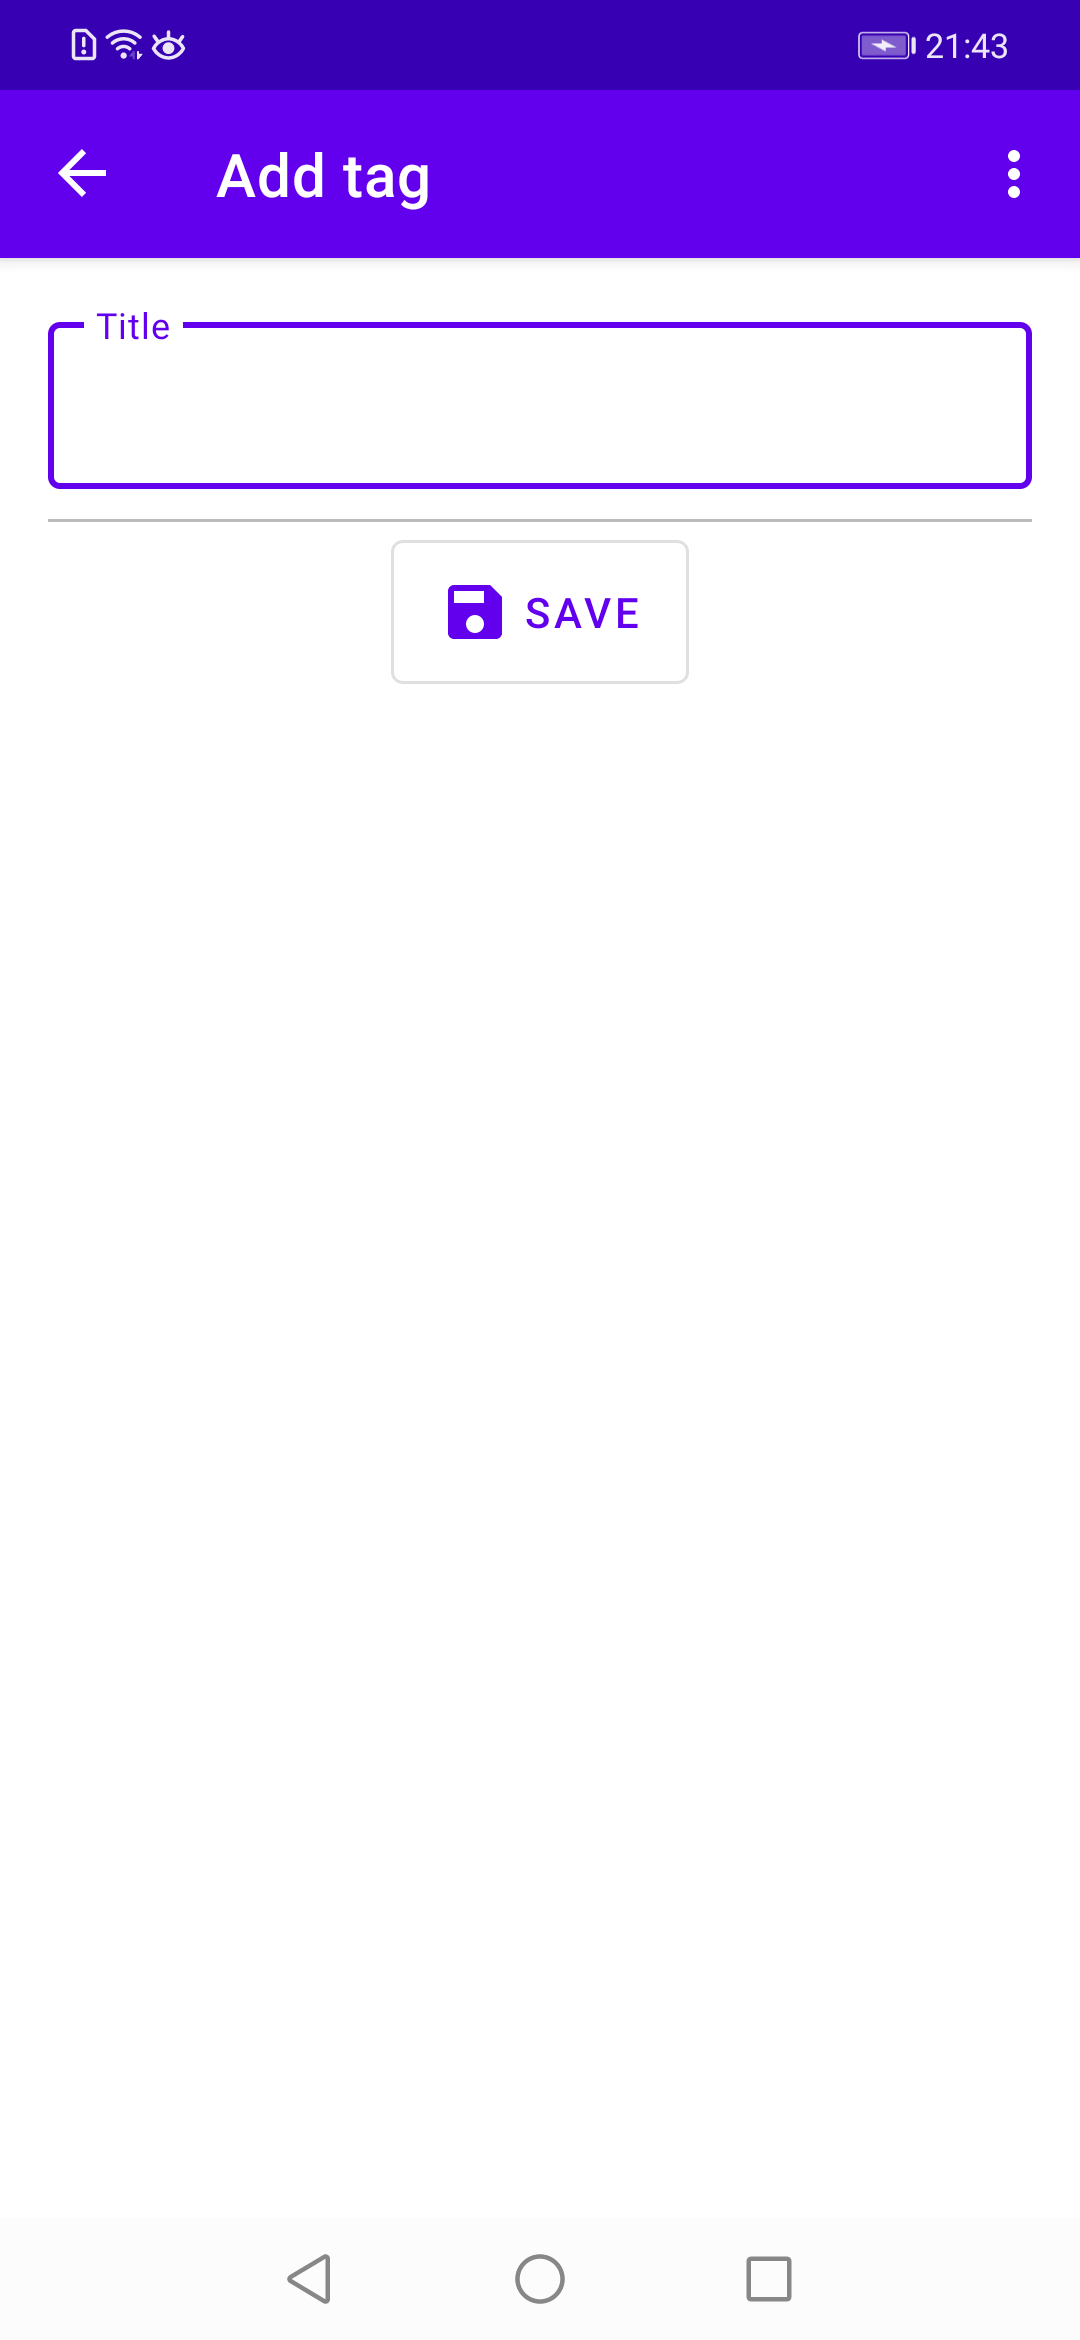
<string name="tags_add_menu_title">Add tag</string>
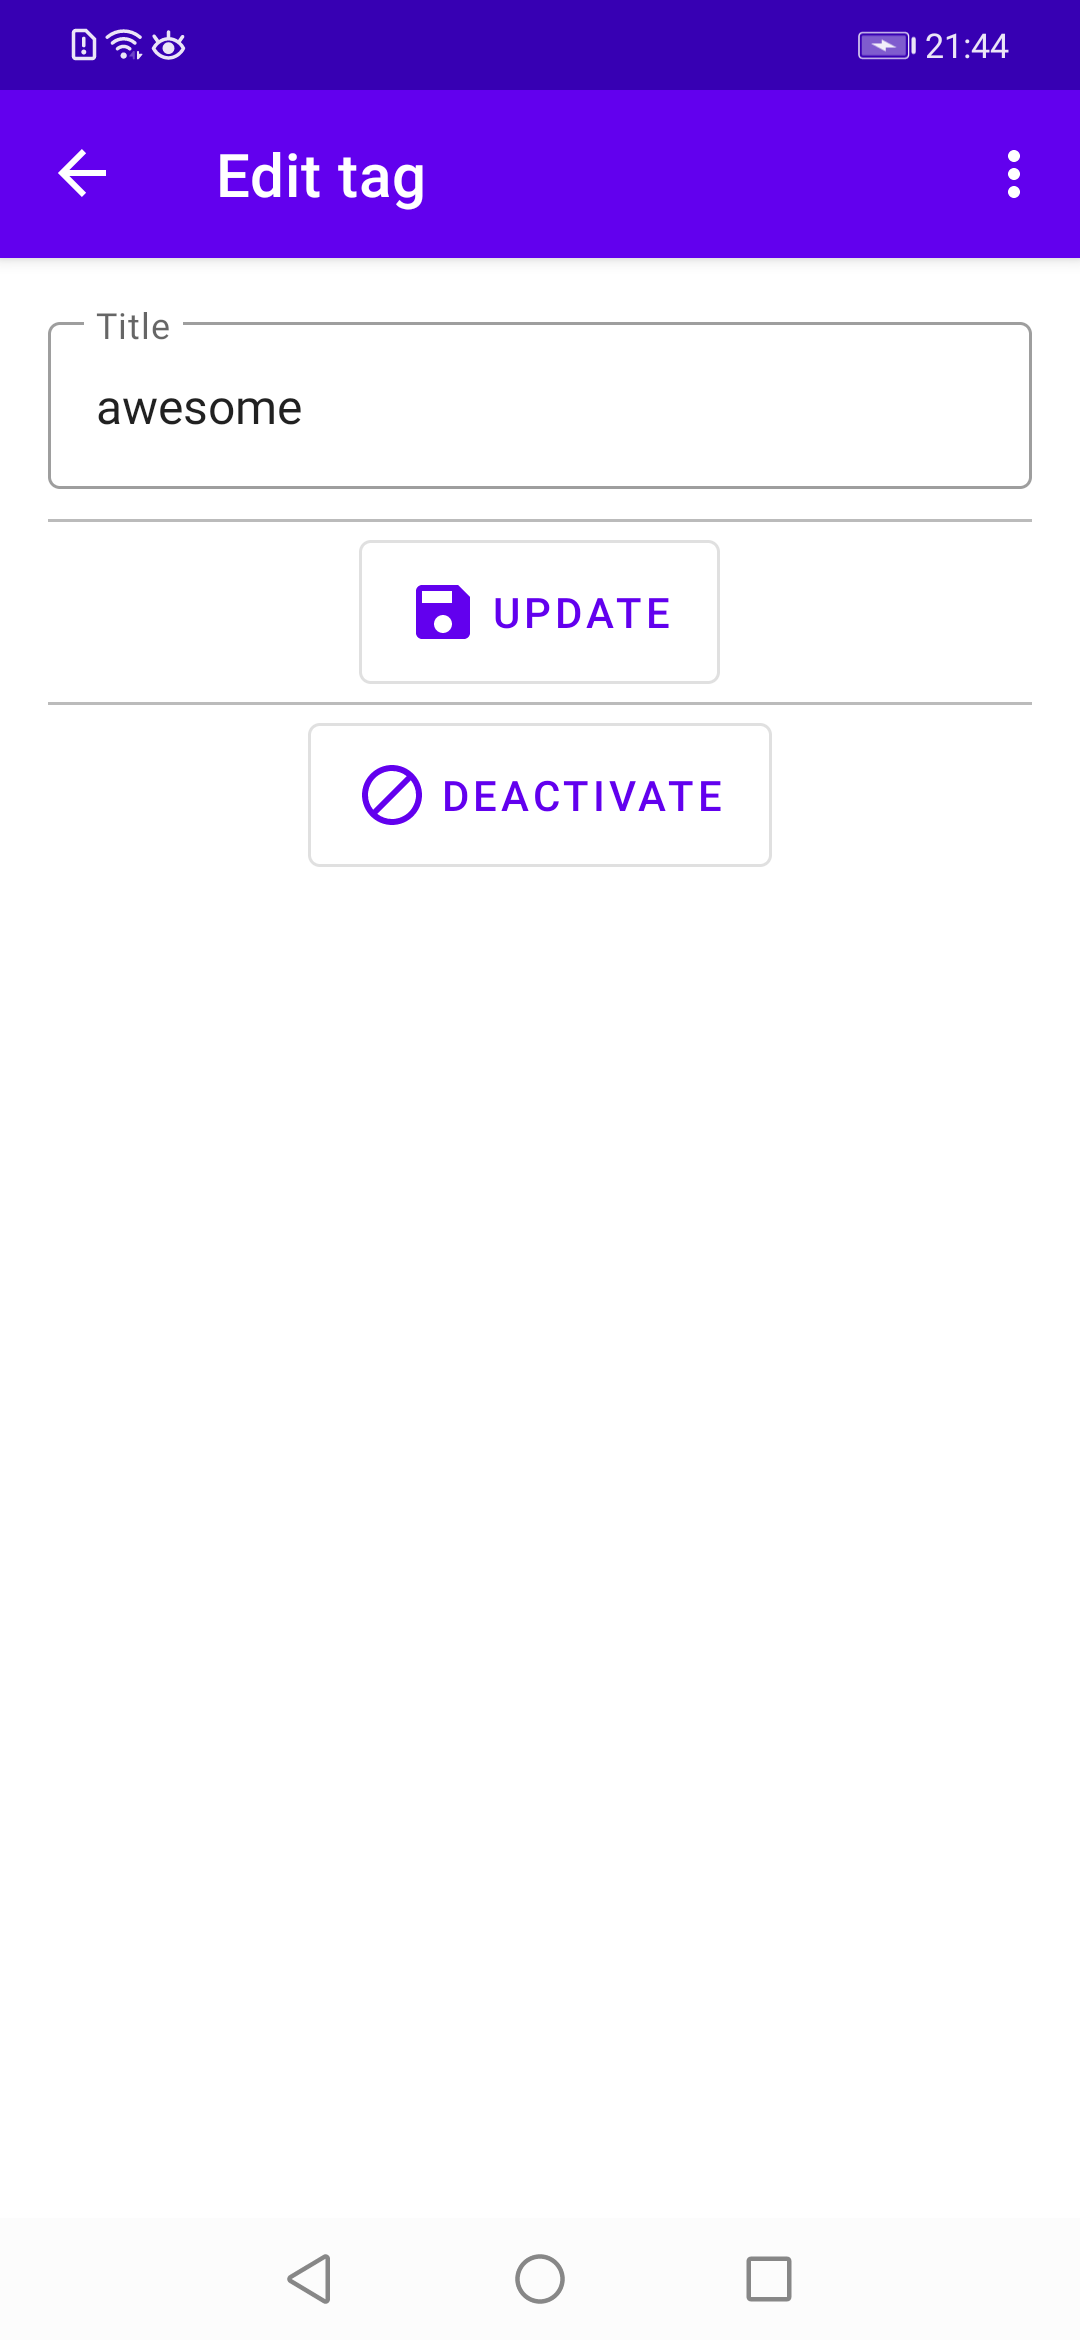
<string name="tags_edit_menu_title">Edit tag</string>
<string name="diary_entries_list_menu_title">Diary entries</string>
<string name="genders_list_menu_title">Genders</string>
<string name="genders_add_menu_title">Add gender</string>
<string name="genders_update_menu_title">Update gender</string>
<string name="help_menu_title">Help</string>
<string name="support_section">Support</string>
<string name="preferences_menu_title">Preferences</string>
<string name="import_export_menu_title">Import/Export</string>
<string name="search_view_hint">Search entries</string>
<string name="fab_add_description">Add entry</string>
<string name="fab_filter_description">Filter entries</string>
<string name="fab_csv_description">Export entries to CSV file</string>
<string name="name_label">Name</string>
<string name="save_button">Save</string>
<string name="deactivate_button">Deactivate</string>
<string name="delete_button">Delete</string>
<string name="update_button">Update</string>
<string name="unique_gender_violation">This gender name already exists!</string>
<string name="unique_person_violation">This person already exists!</string>
<string name="unique_tag_violation">This tag already exists!</string>
<string name="validation_no_name">Name is required</string>
<string name="validation_no_title">Title is required</string>
<string name="validation_no_birthdate">Birthdate is required</string>
<string name="validation_no_gender">Gender is required</string>
<string name="inactive_label">Inactive</string>
<string name="inactivity_safety_dialog_title">Safety check</string>
<string name="inactivity_safety_check">Actually deactivate entry?</string>
<string name="yes">Yes</string>
<string name="no">No</string>
<string name="no_entries">You either have not created any entries yet or there are no entries matching your search/filter criteria.</string>
<string name="item_image_description">Assigned image</string>
<string name="add_image_button">Add image</string>
<string name="change_image_button">Change image</string>
<string name="delete_image_button">Delete image</string>
<string name="image_picking_canceled">Image picking canceled</string>
<string name="person_gender_label">Gender</string>
<string name="person_birthdate_label">Birthdate</string>
<string name="title_label">Title</string>
</resources>


