Chapter 8 Layout, Themes, Navigation and activity_main.xml
| Problems covered in this chapter |
|
Next, we want to integrate the menus into our app by including them in the layout file activity_main.xml. Before we do this, however, we have to expand our two string.xml files and add a few entries to the two themes.xml files (for light and dark mode). We also need to add the new vector icon ’Save’ (baseline_save_24.xml), which is used for the floating action button to export to a CSV file.
8.1 themes.xml (Light-Mode)
8.2 themes.xml (Dark-Mode)
So we define the three attributes fab_tint_background, fab_border_color and fab_icon_color and for our toolbar menu the style ToolbarTheme and use colours that are favourable for the respective mode (Light/Dark).
8.3 string.xml (English)
8.4 string.xml (German)
8.5 activity_main.xml
We use the element DrawerLayout and NavigationView to realise a fold-out menu at the upper left edge of the screen. Using AppBarLayout and MaterialToolbar, we implement a tool menu (Settings, Import/Export and Help) at the top right of the screen. This toolbar menu is packed together with three floating action buttons (FAB) and a FragmentContainerView within the CoordinatorLayout element to control the animation of these components. Within the FragmentContainerView, our individual fragments will be displayed later. In order for the scrolling to work properly, this element is encapsulated in a NestedScrollView. This code is almost entirely based on the example code from the Head First Android Development book. The three FABs are set to invisible by default (android:visibility=”gone”) and are only shown in certain places in the UI using code.
Next, we need to enable the navigation component of Android Jetpack by extending our app build.xml file. To do this, insert the corresponding line:
8.6 build.xml (App)
We also need to create a navigation graph. Add this by right-clicking on the res folder and selecting ’New - Android Resource File’ and give it the name nav_graph and select the option ’Navigation’ as the resource type.
8.7 nav_graph.xml
Next, we need to create the missing fragment fragment_home.xml, in which we simply display a dummy text in a TextView for now:
8.8 fragment_home.xml
8.9 MainActivity.kt
In MainActivity.kt we now initialise and integrate the previously defined menus as well as the NavigationHost, which is responsible for exchanging the fragments in main_activity.xml according to the user’s navigation. Note also that we set the variable appCtx of our global utitlity class GlobalAppStore so that we can reference the application context from any class in our app.
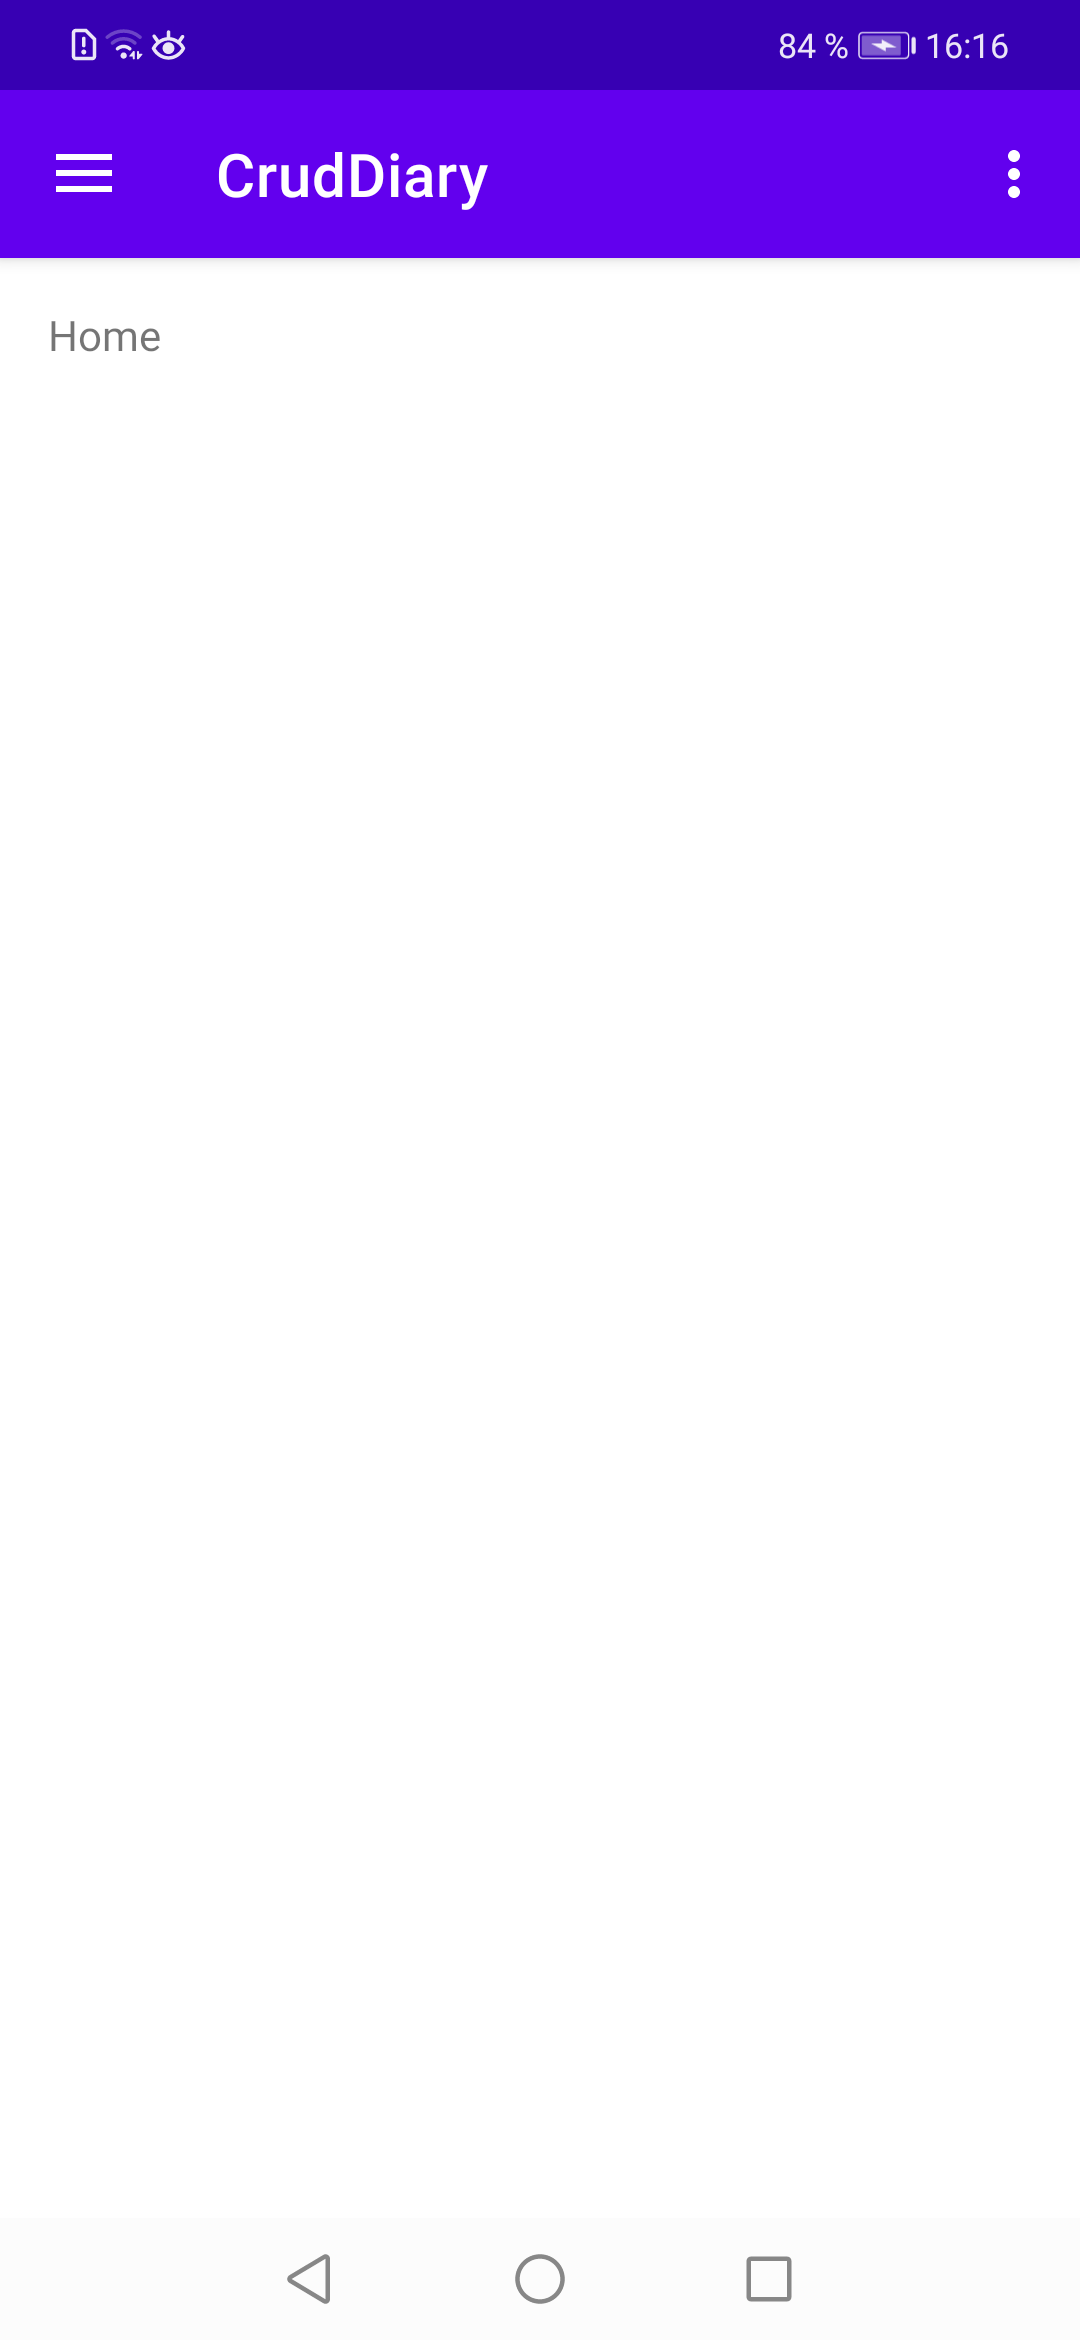
With all these files we can now compile our code and execute it either on a virtual or a real device. The start page with the fragment fragment_home.xml does not offer much at the moment (see Figure 8.1).

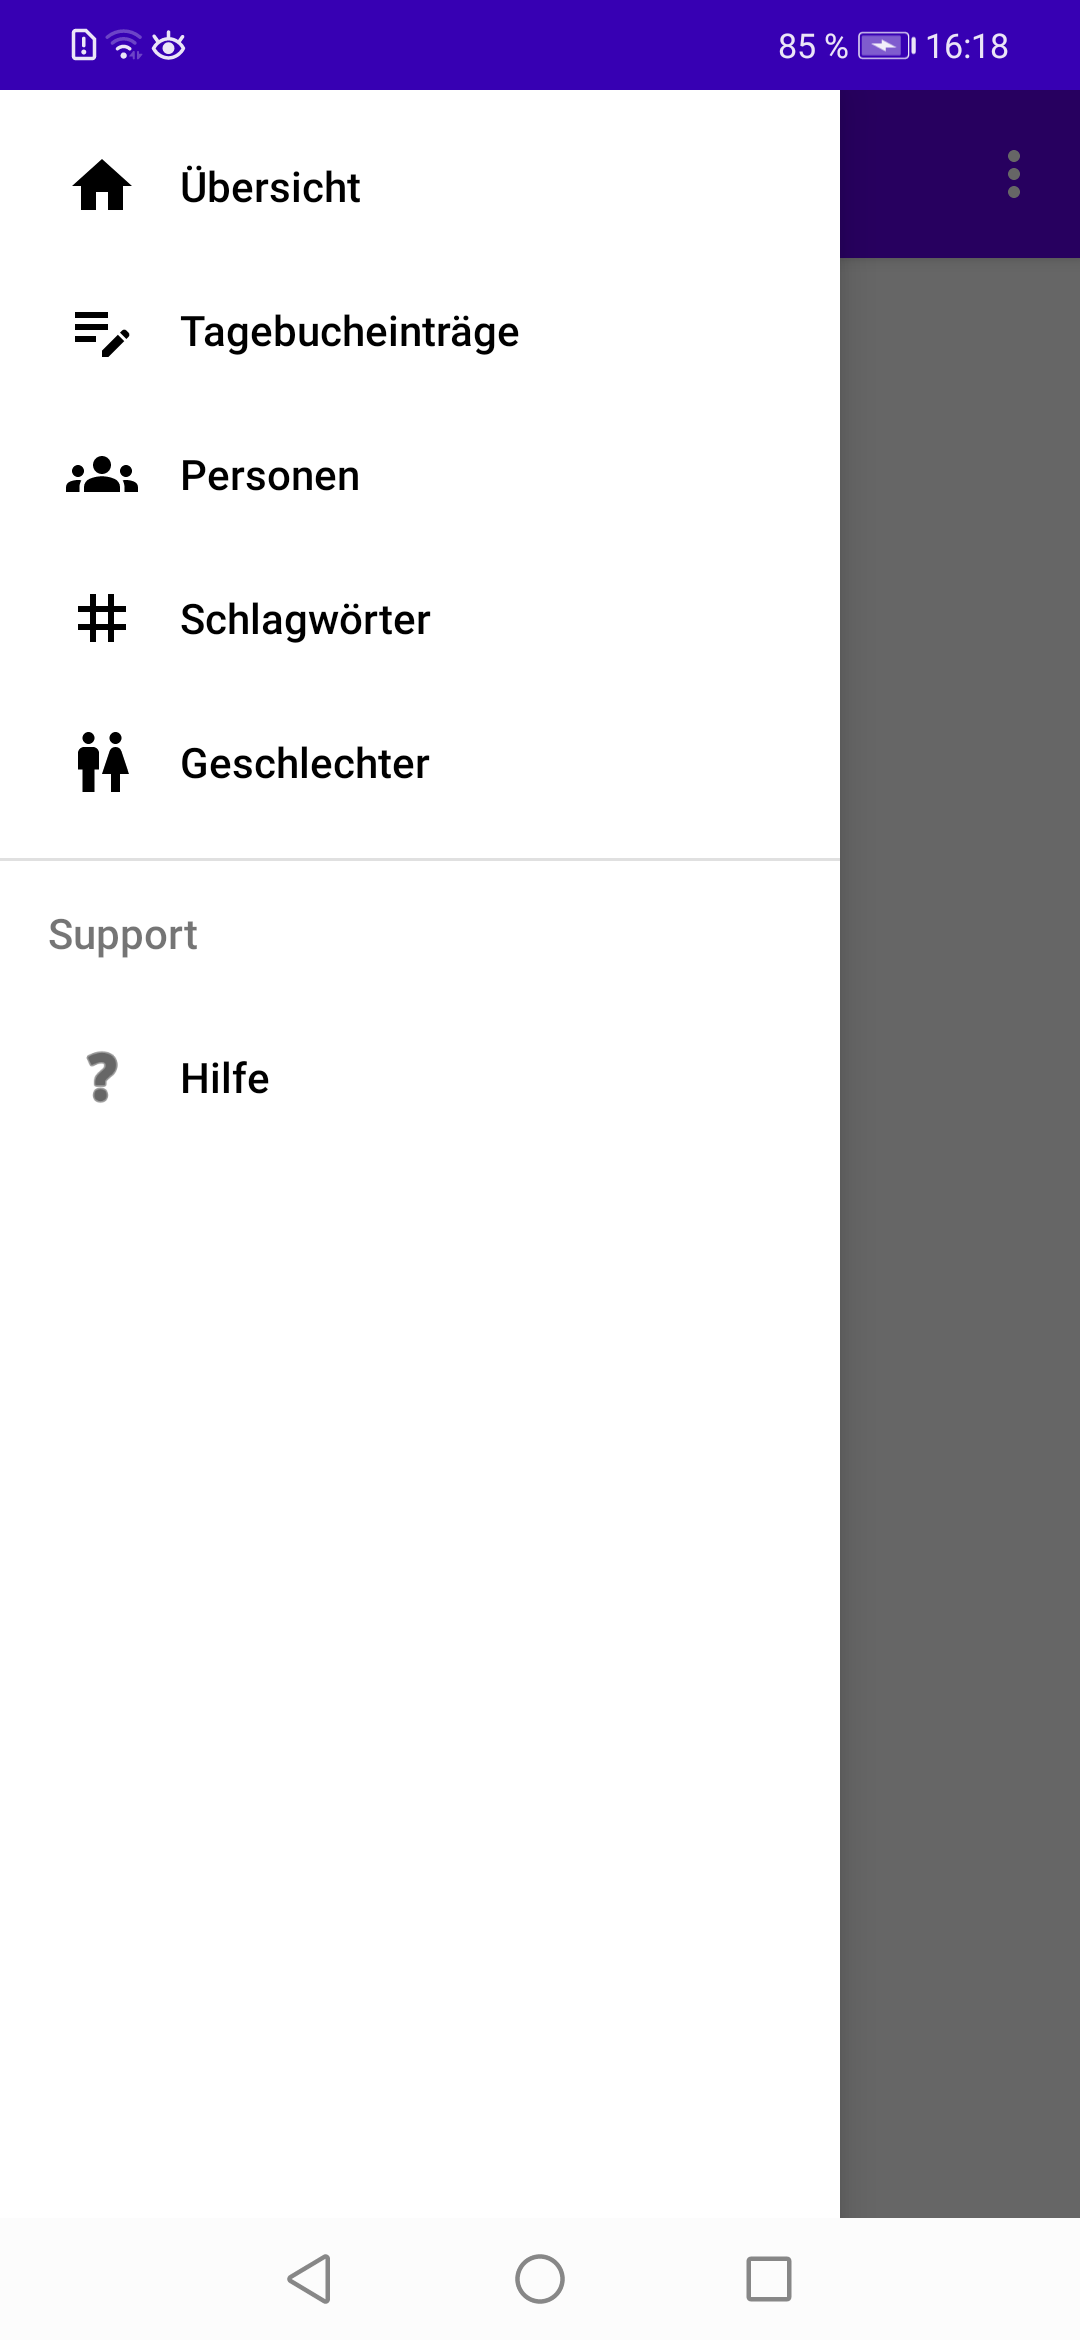
If you tap the menu icon (burger symbol) at the top left, the menu items defined in menu_main.xml are displayed (see Figure 8.2).

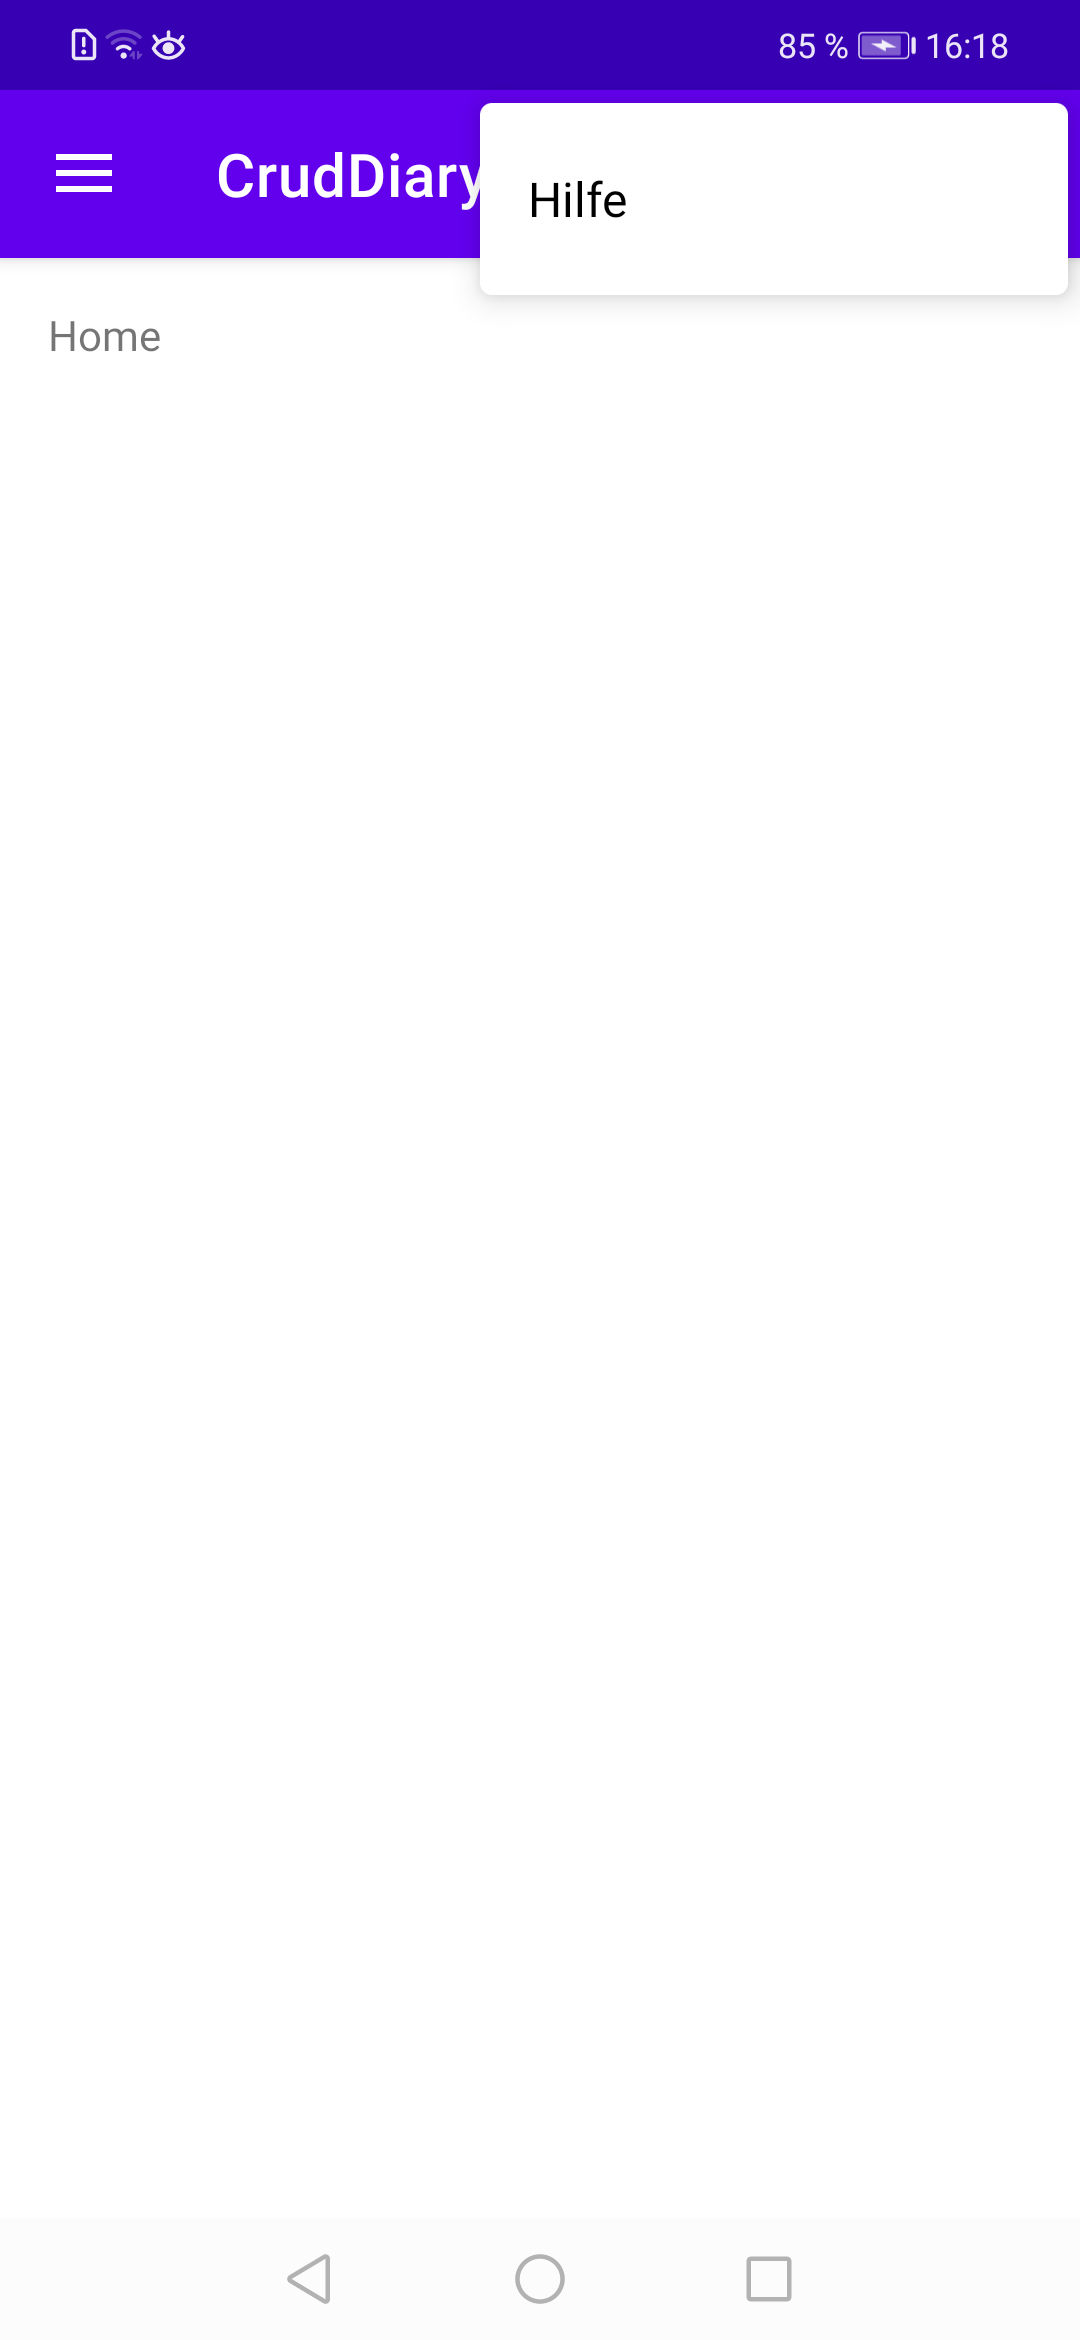
If you tap on the toolbar menu icon (four vertical dots) in the top right-hand corner, the menu item Help defined in toolbar_menu.xml is displayed (see Figure 8.3) - the other menu items are hidden for the time being, we will deal with their display later.
