Chapter 10 Add Genders
| Problems covered in this chapter |
|
In the last chapter we covered the listing of all genders stored in the database. In this chapter we now want to enable the user to add new genders (e.g. ”inter” or ”open”). First, we extend our BaseViewModel class.
10.1 BaseViewModel.kt
We add new LiveData-variables insertSuccess and deactivateSuccess: the first one is set to true whenever inserting a new gender into the database was successfull (there was no constraint violation), the second one is set to true whenever deactivating an existing gender was successfull (there were no validation errors). Another LiveData-variable, doValidation, is set to true when the user taps the Add-button to insert a new gender and we trigger form field validation to check if the user’s input data are valid. The method onValidatedAndUpdated() is called when when validation and an insert or update action in the database were both successfull. The method updateEntryAfterValidation() is defined as open and has to be implemented in our view model AddGenderViewModel.kt, which we cover next.
10.2 AddGenderViewModel.kt
As with our GenderListViewModel from the previous chapter, we have a separate Factory-class which is passed a GenderDao object at initialization. The variable newGender holds our new gender object that gets inserted into the database after data validation and database constraint checking (the name of the gender has to be unique, see the definition of the Gender data class).
10.3 string.xml (English)
For our user interface, we have to add a couple of string values to our string.xml files:
Next we add the vector clip arts baseline_delete_24, baseline_do_not_disturb_alt_24 and a simple divider shape to our drawables folder:
10.4 divider.xml
This shape is used to divide input fields in our user interface. Since we want a consistent look across our app, we add a new style definition to our themes.xml file:
10.5 themes.xml (Light-Mode)
10.6 text_input_name.xml
10.7 crud_buttons.xml
10.8 fragment_add_gender.xml
In this chapter, we start form validiation. For this purpose we use a solution by Ashish Suthar as described in his online article Simplify Form Validation using Kotlin Flow on Android. Since this approach uses FlowBinding, we need to update our build.xml file:
10.9 build.xml (App)
We only slightly modify the two class files FormField.kt and FormFieldText.kt for our purposes and save them in our ui package folder:
10.10 FormField.kt
10.11 FormFieldText.kt
Instead of using explicit validation statements in the constructor of the FormFieldText variables (as done in Ashish Suthar’s code example) we define an additional Validation class with reusable validation variables. For the moment, there is only one variable called nameValidation which ensures that a name input field is not null or blank:
10.12 Validation.kt
Next, we add the method formValidation() in our BaseFragment class. We pass it the button that triggered the validation, a list of form fields that should be validated and the view model where we set LiveData variables depending on the outcome of our validation:
10.13 BaseFragment.kt
Now it is time to present our AddGenderFragment class:
10.14 AddGenderFragment.kt
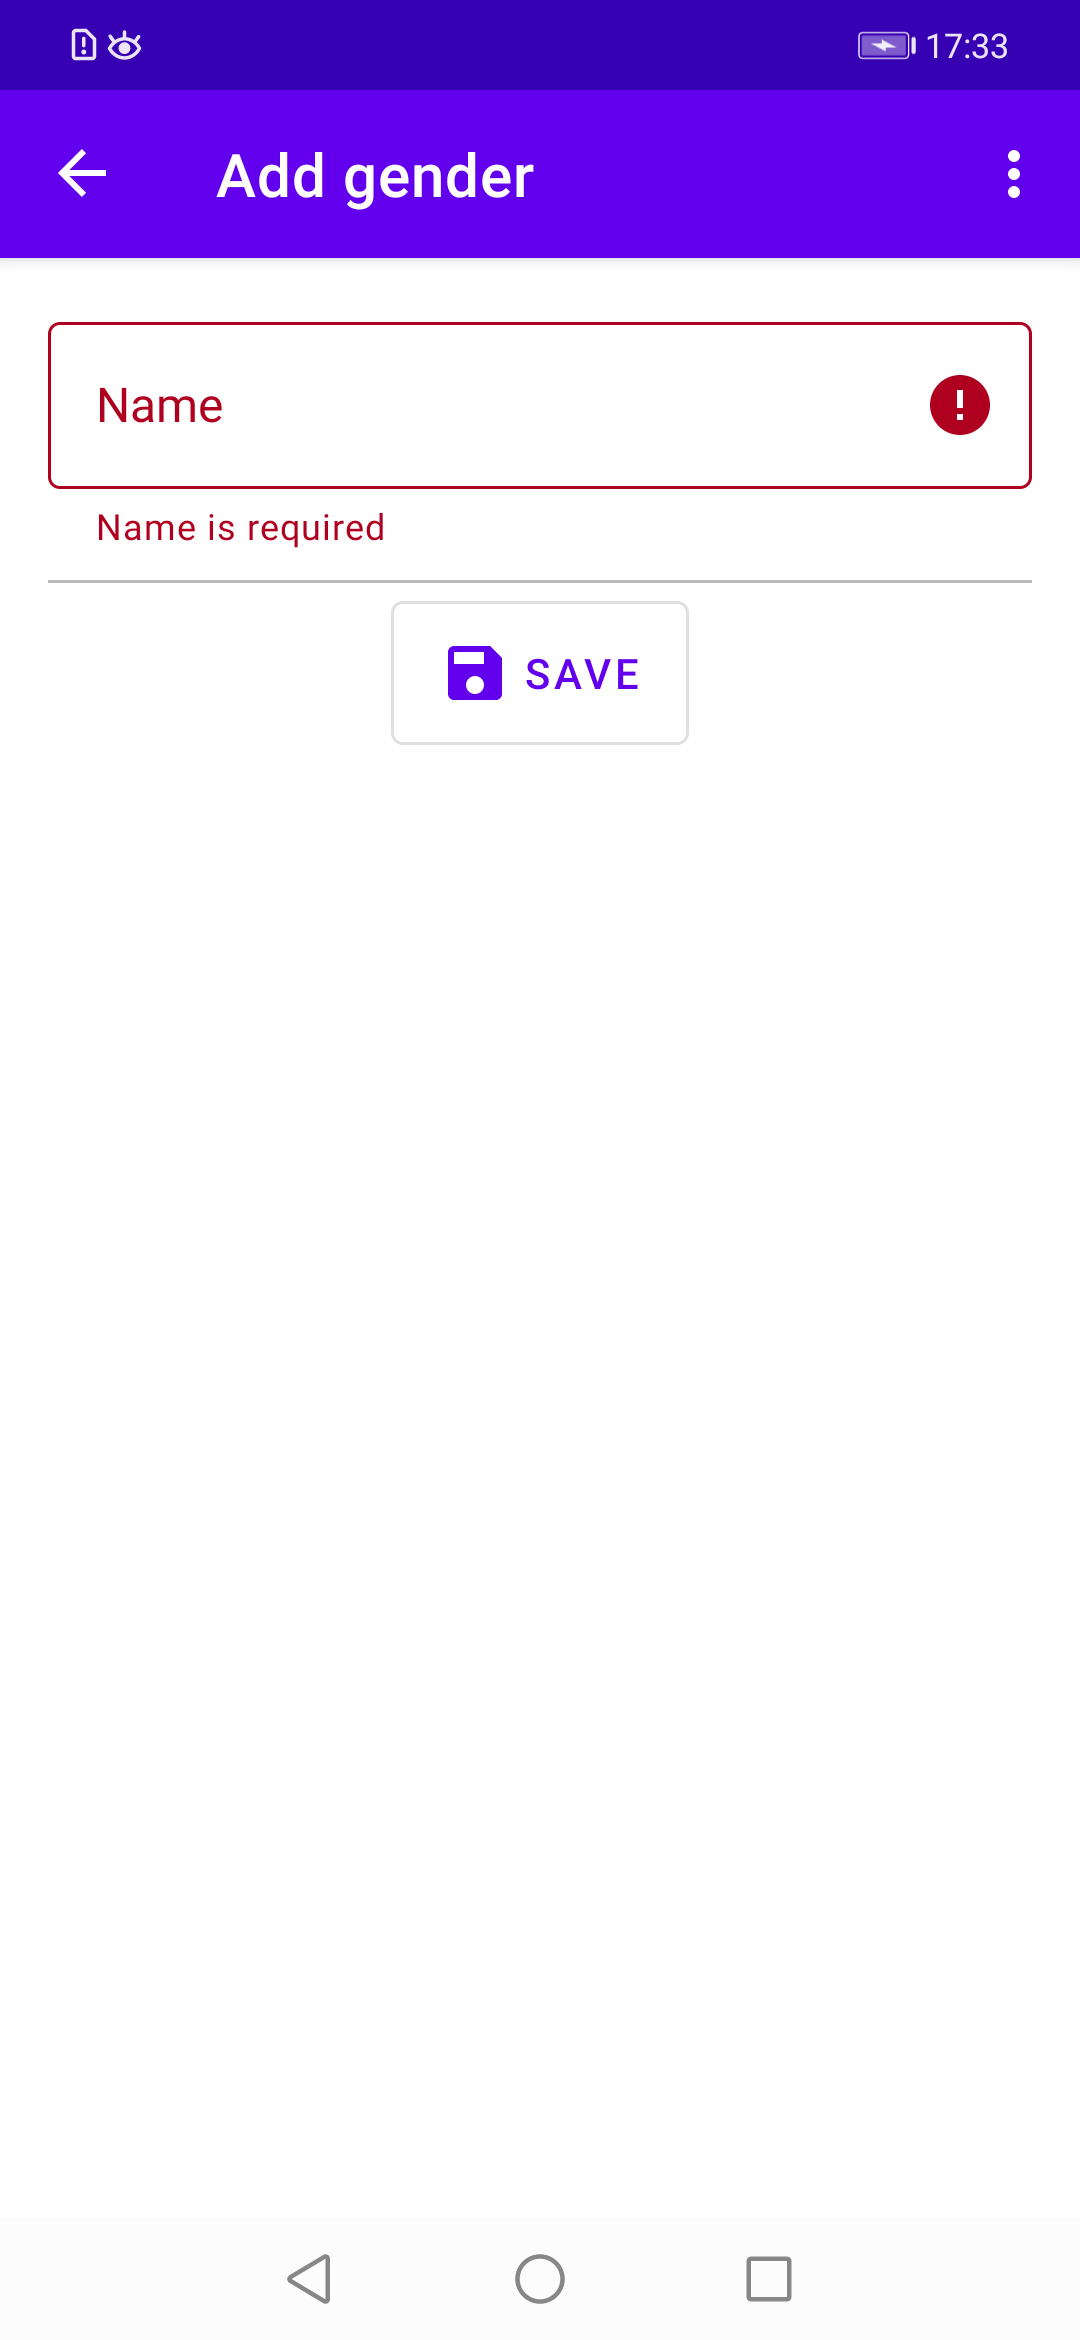
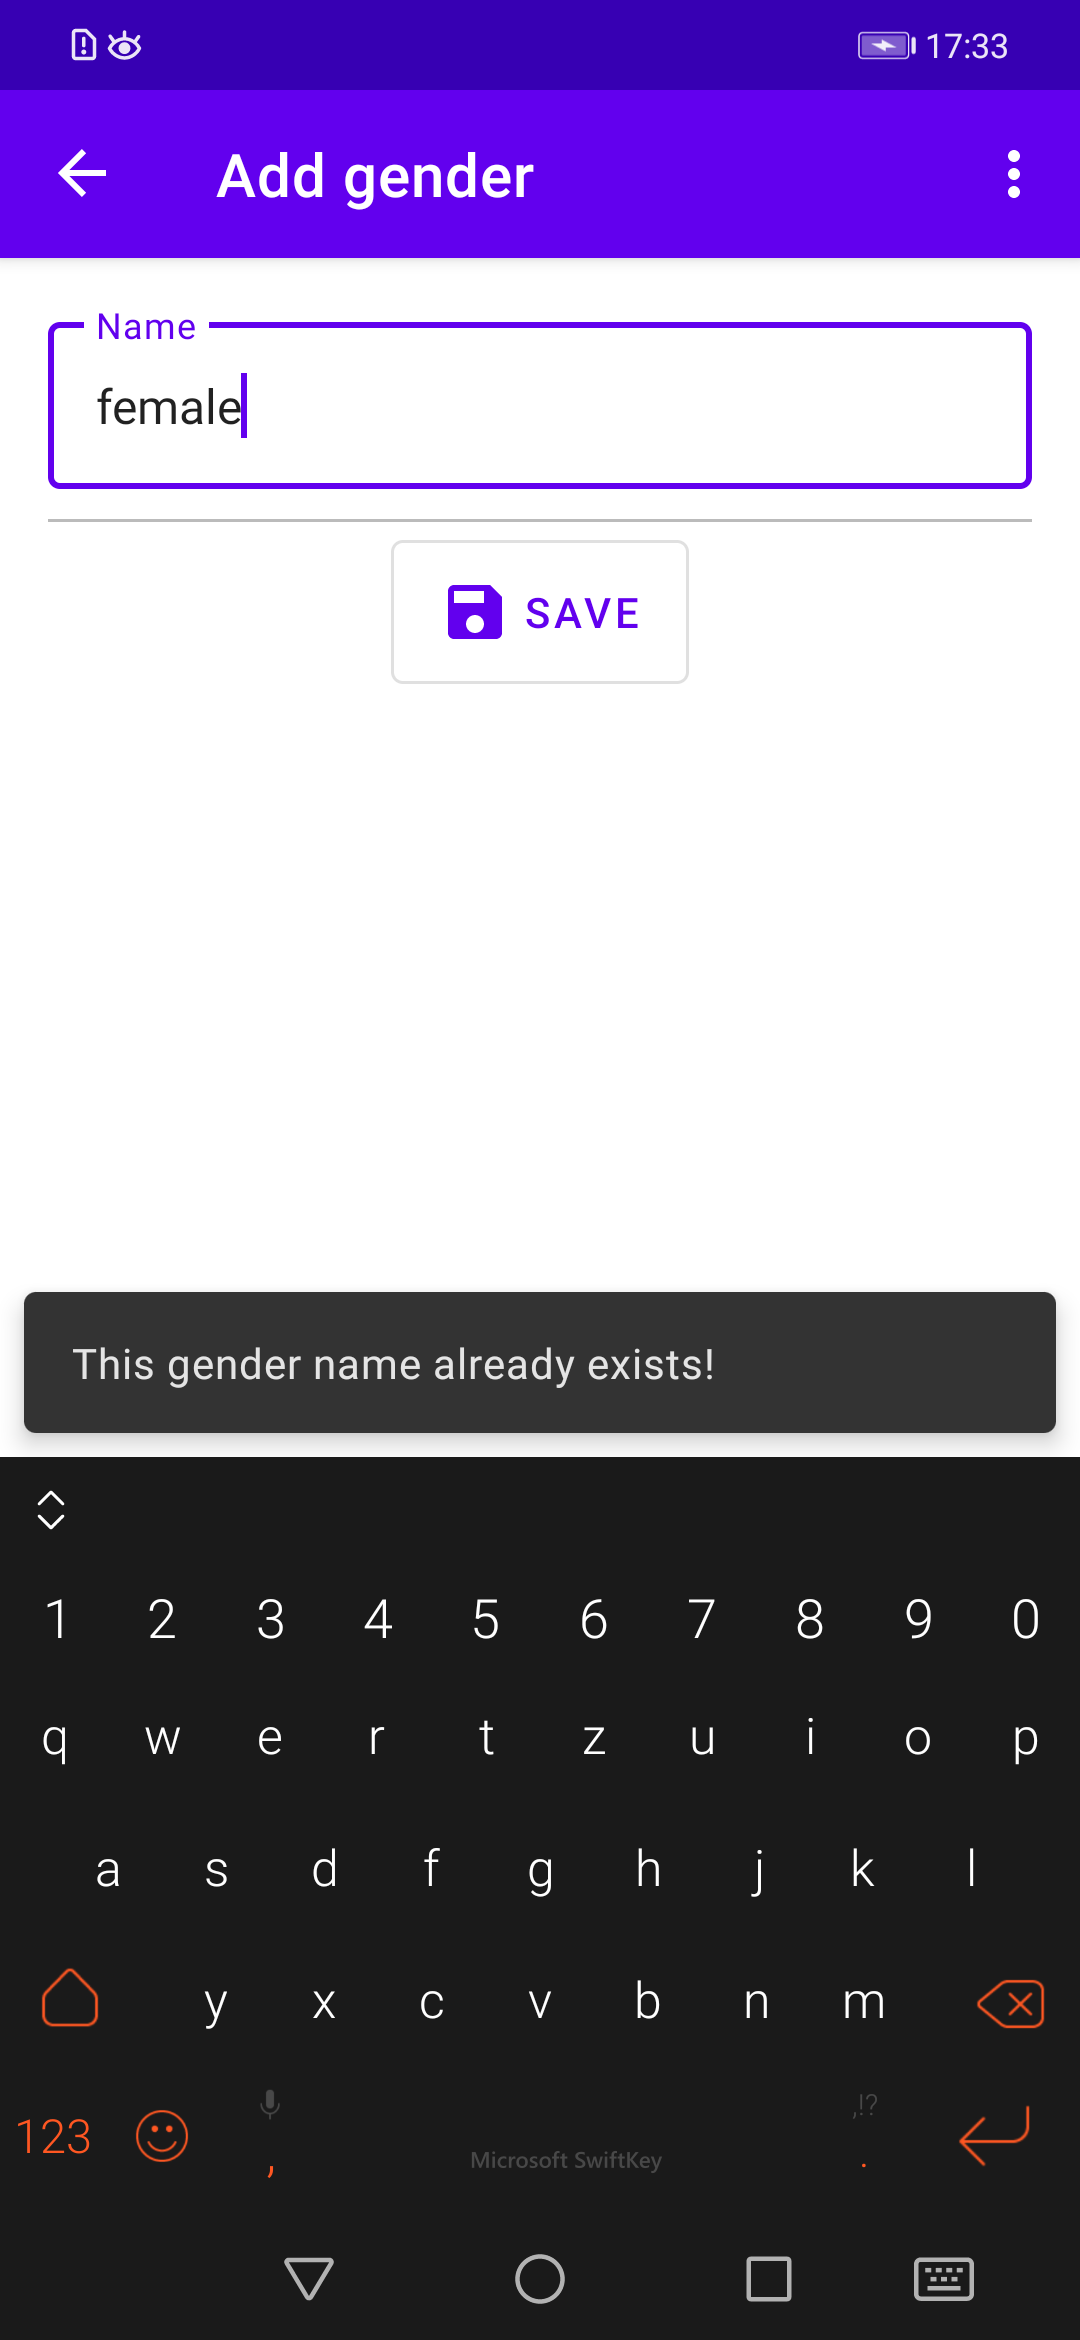
Most of the code should already be familiar from the previous chapter where we introduced the GendersListFragment (see Section 9.10). What’s new in this fragment is the definition of the fieldName variable: we specify the TextInputLayout and TextInputEditText fields to which our validation (nameValidation) applies. Then we define a list formFields containing FormFieldText variables (in our case there is only one input field), which we pass on in the BaseFragment’s formValidation method which is triggered as soon as the view model’s doValidation variable is set to true. If form field validation was successfull, our view model’s method updateEntryAfterValidation is called, where we try to insert the new gender value into the database. If there is no database constraint violation (the name of the gender has to be unique), the new value is inserted and we jump back to the genders list which now contains the new value. If there was a database constraint violation, the view model’s variable insertSuccess is set to false and the fragment’s observation code presents a snackbar at the bottom of the screen telling the user about the violation (see Figure 10.3). If form field validation fails, an error message is presented at the input field (see Figure 10.2).
However, for getting from the genders list page to the ’Add gender’ page in our UI, two more tasks have to be done. First, we have to extend our existing GendersListFragment:
10.15 GendersListFragment.kt
And second we have to extend our navigation graph with our new fragment. On this occasion we have provided some readable labels with the android:label-attribute so that our menu titles look nice:
10.16 nav_graph.xml
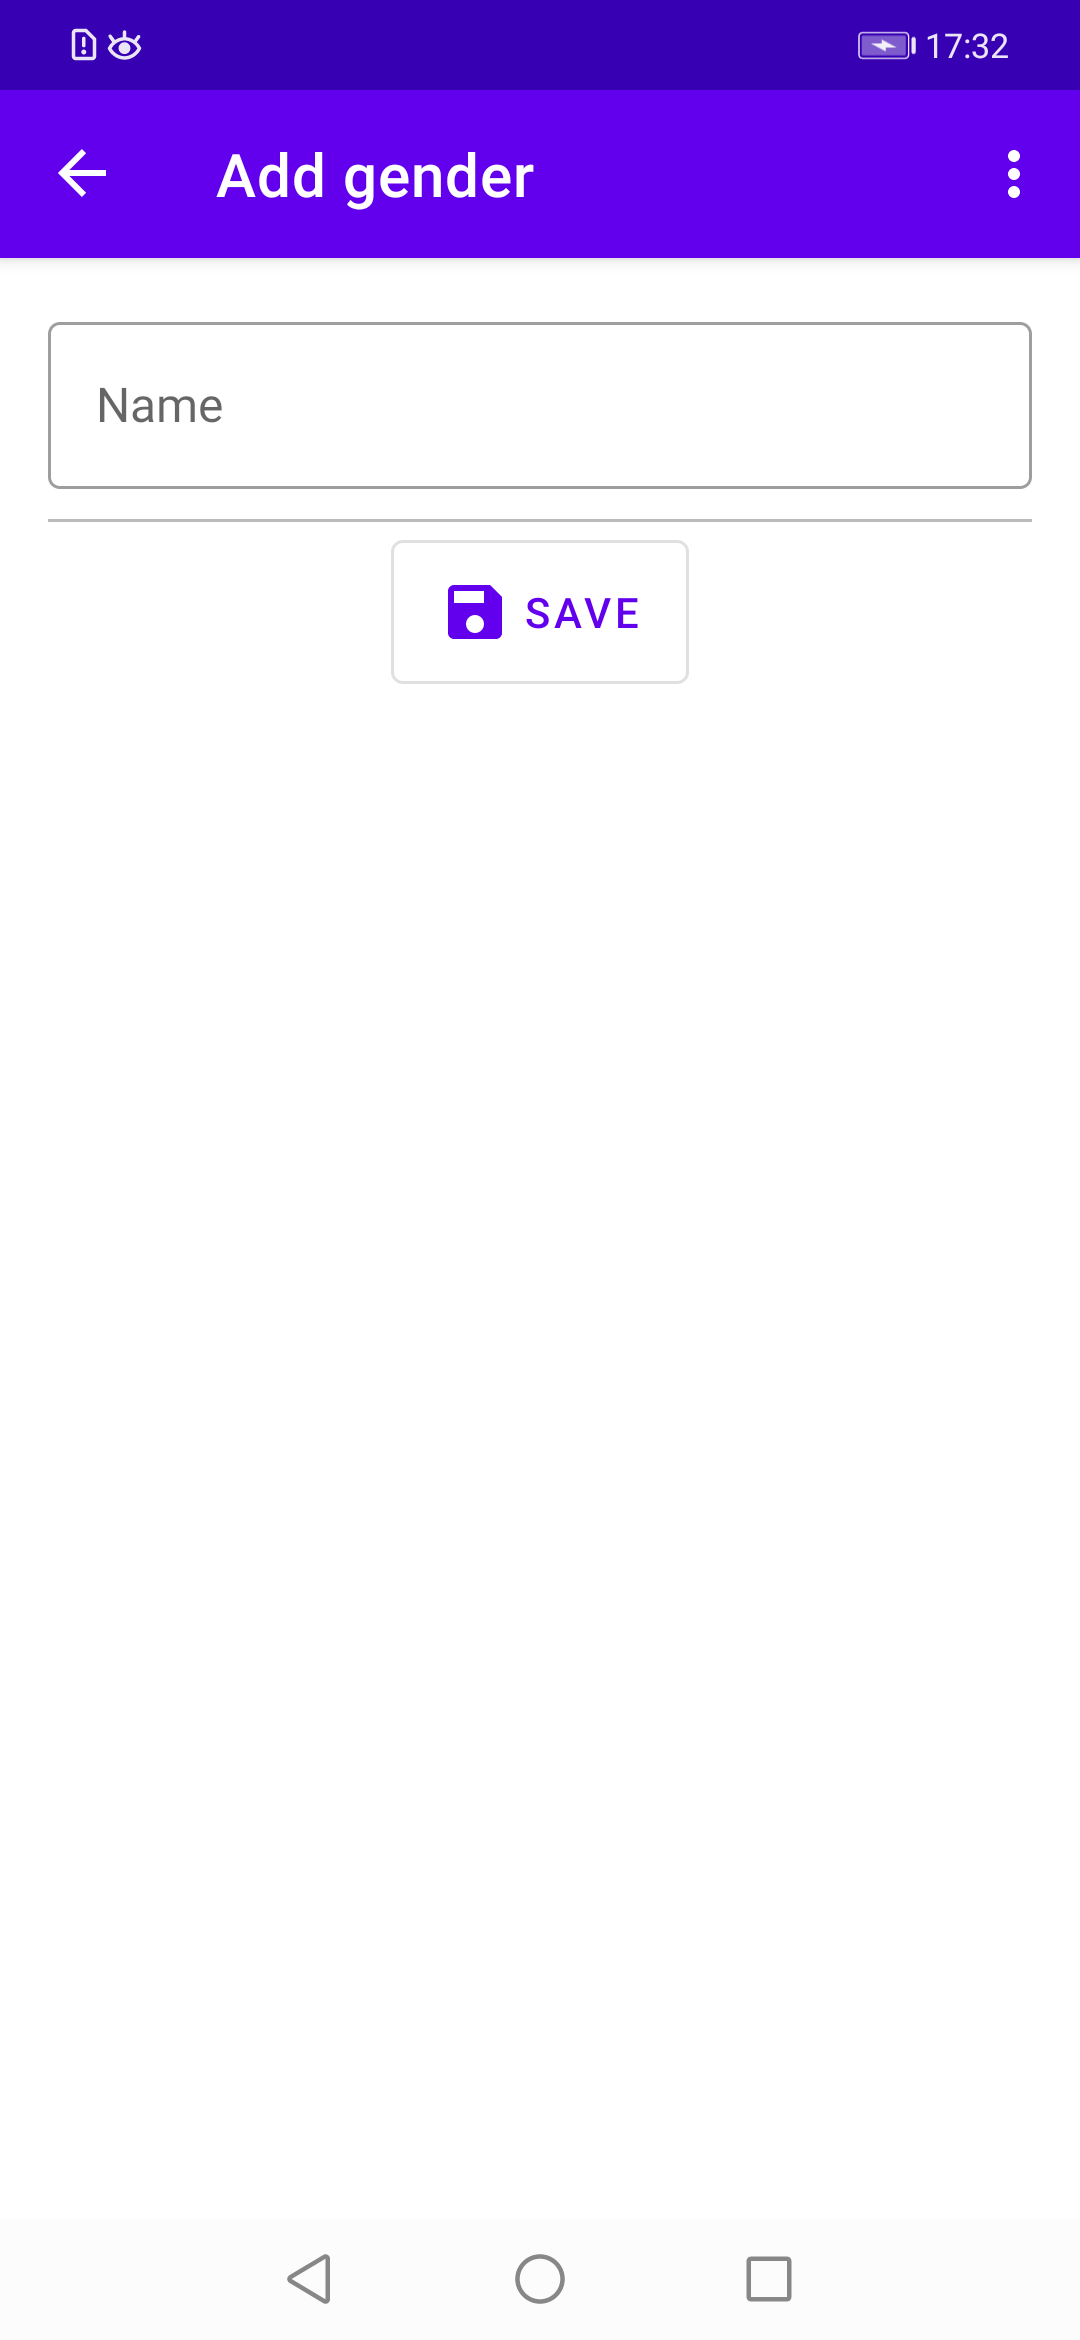
With all these new files and extensions of existing files, the code should now rebuild and run on a (virtual) device. If you tap on the FAB at the bottom of the genders list, you get to the input mask for adding a new gender (see Figure 10.1).


