Chapter 11 Update Genders
In the last chapter we covered the Create-part of our CRUD app for genders. In this chapter we now want to enable the user to update existing genders (for example to correct a typo). Let’s start with a view model for our update page:
11.1 UpdateGenderViewModel.kt
As with our view models from the previous chapters, we have a separate Factory-class which is passed a GenderDao object at initialization. However, in this case we additionally pass the ID of the gender item that gets updated. The variable gender gets our existing gender object from the database. As with our view model for adding new gender items, we have to validate the user input and check for database constraint violations.
11.2 string.xml (English)
For our user interface, we have to add a couple of string values to our string.xml files:
Since we want a consistent look across our app, we add a new style definition for inactive items to our themes.xml file:
11.3 themes.xml (Light-Mode)
11.4 checkbox_inactive.xml
11.5 fragment_update_gender.xml
Next we have to extend our navigation graph with our new fragment:
11.6 nav_graph.xml
Note that we added the argument genderId to our new fragment because we have to pass the ID so we know which gender item gets updated. Next we add new methods to our BaseFragment class. Method saveToUpdateButton() simply changes the text of our CRUD-button in the UI from ’save’ to ’update’. Method setInactivityButton() is used to change the visibility of the inactivity button in the UI. And method setDeactivateButton() presents a safety check dialog to the user asking if she really wants to deactivate the given object.
11.7 BaseFragment.kt
Now it is time to present our UpdateGenderFragment class:
11.8 UpdateGenderFragment.kt
Once again, for getting from the genders list page to the ’Update gender’ page, we have to extend our existing GendersListFragment:
11.9 GendersListFragment.kt
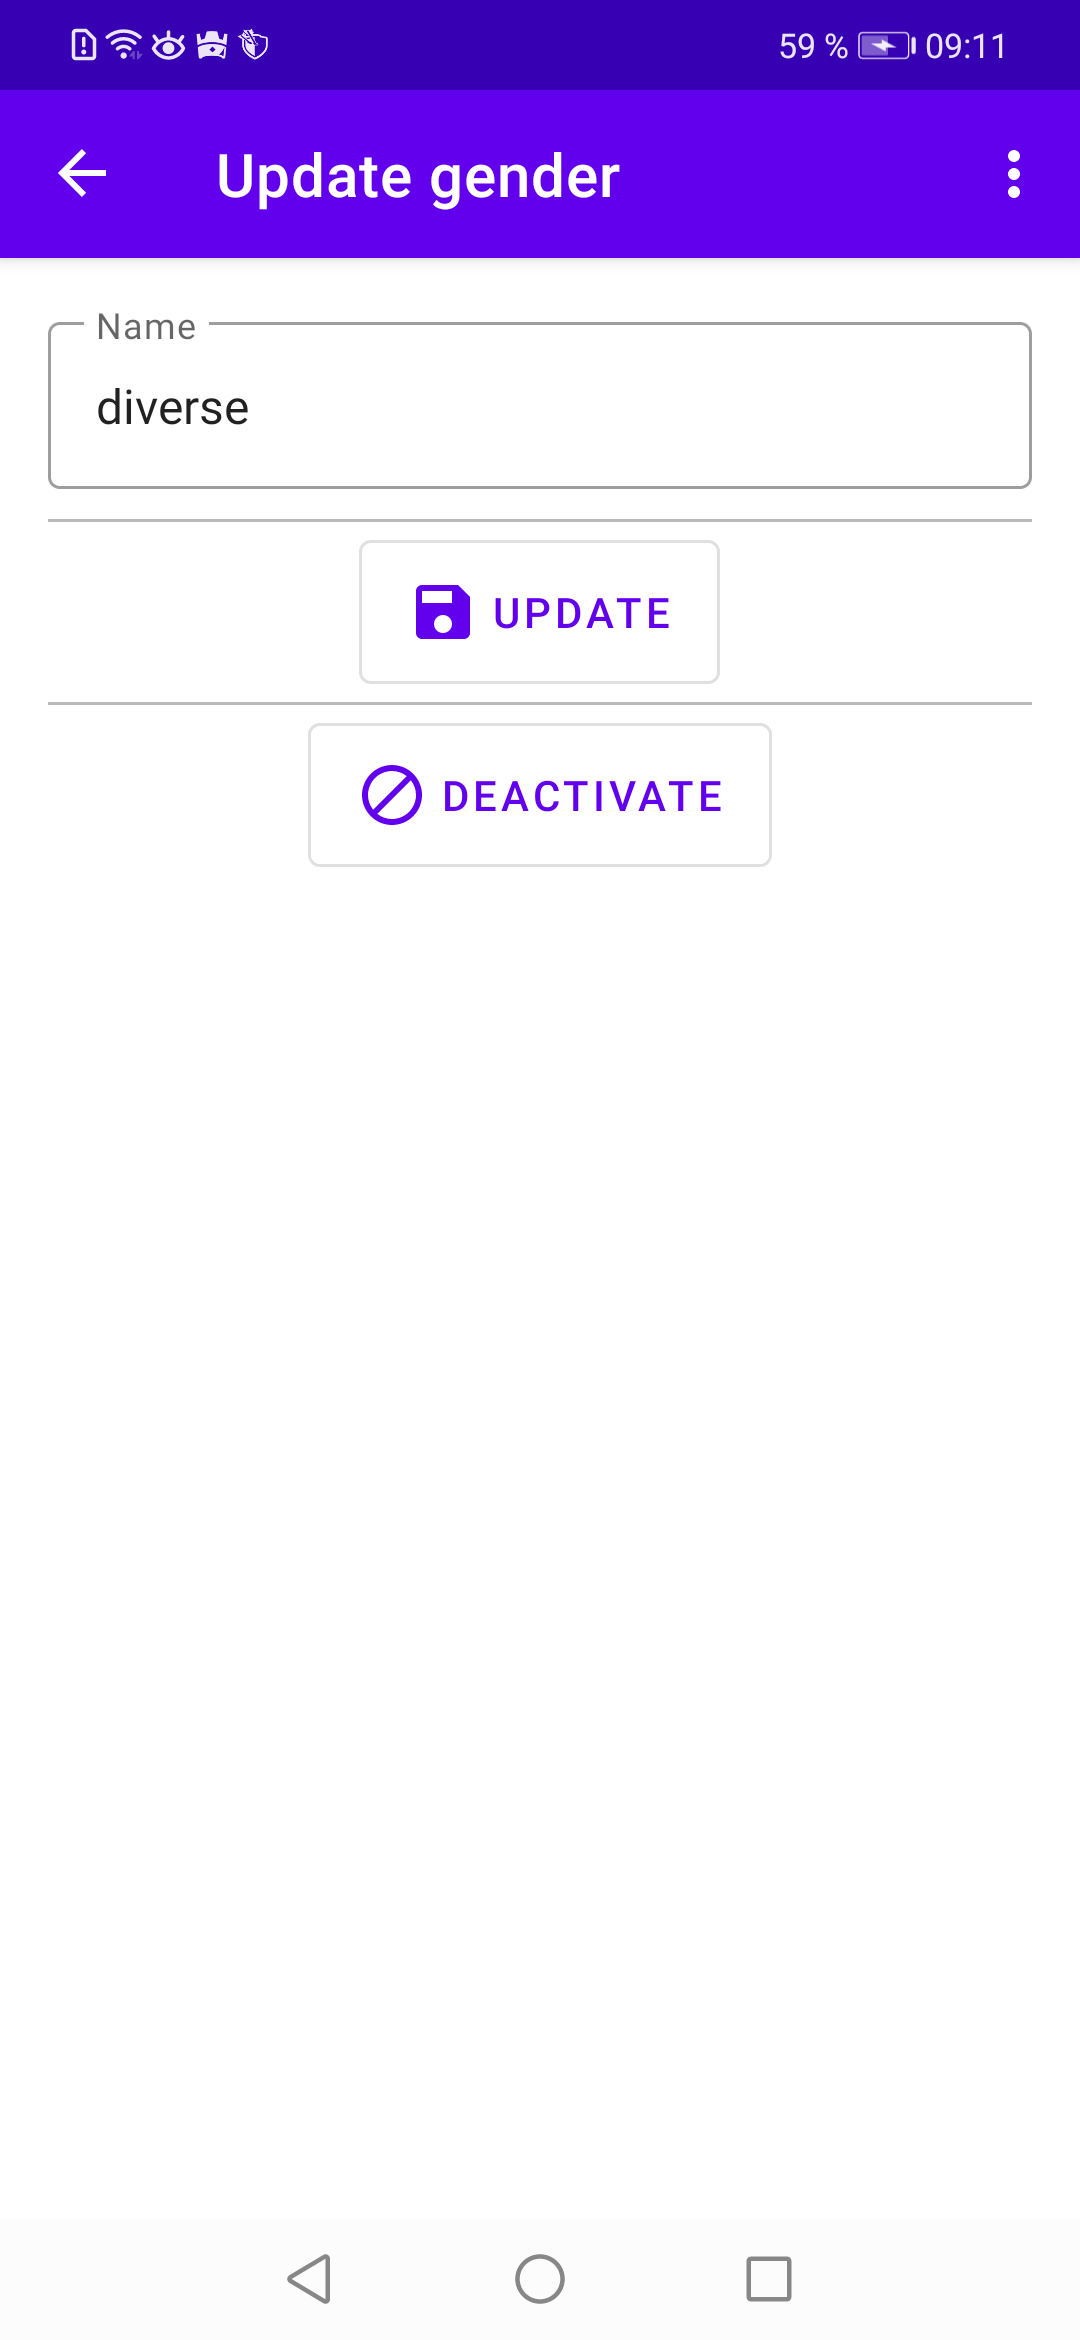
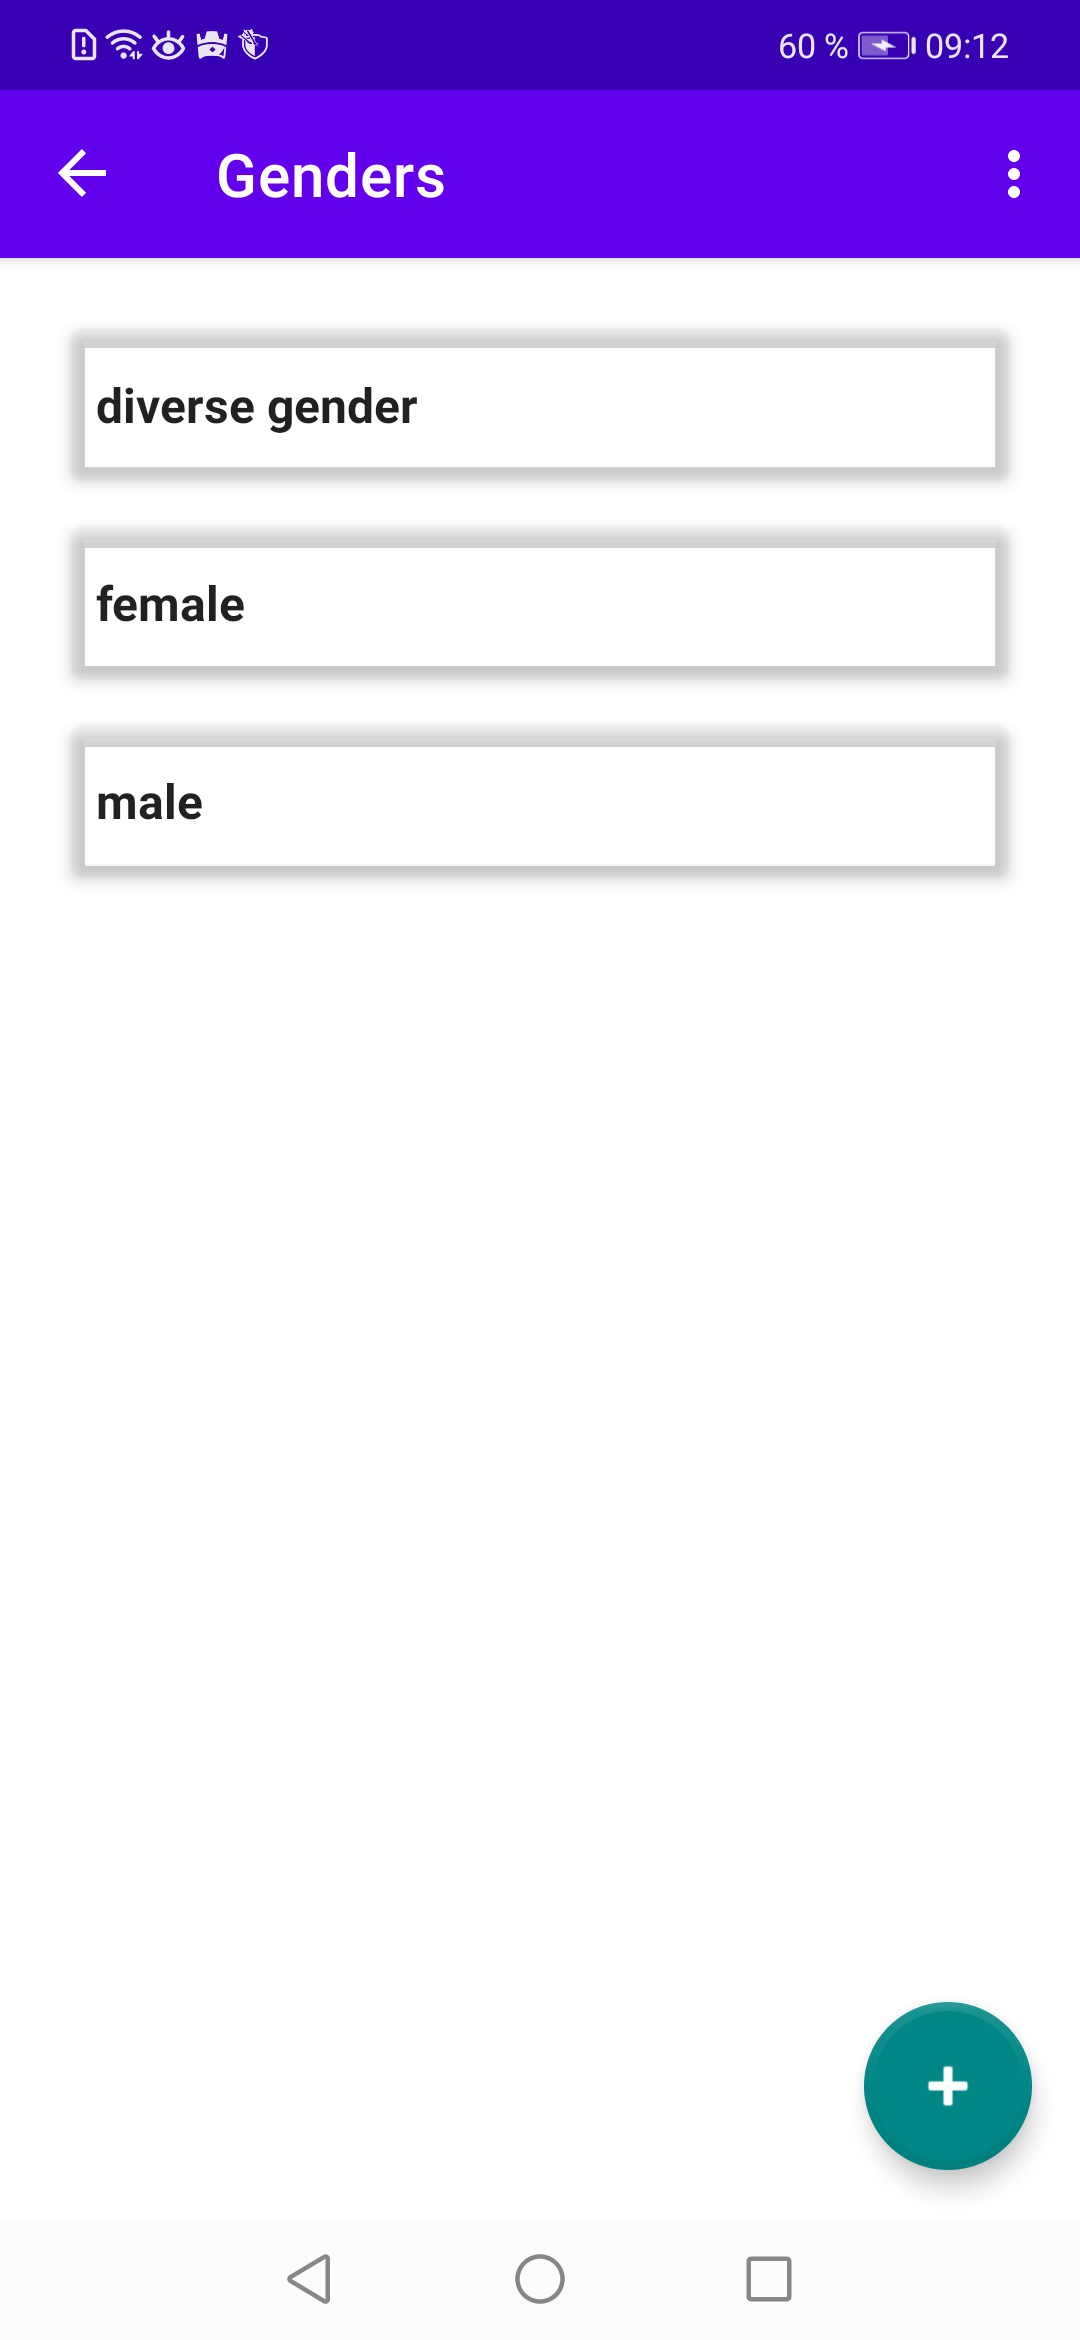
With all these new files and extensions of existing files, the code should now rebuild and run on a (virtual) device. If you tap on one of the items in the genders list, you get to the input mask for updating the selected gender (see Figure 11.1). If the validation of our updated gender was successful, the logic returns to the genders list and displays the updated gender value (see Figure 11.2).


Have you noticed the ’Deactivate’ button below the ’Save’ button? It already works, but please ignore this button for now since we have to tackle the settings menu first in a later chapter (see Chapter 16) so you can actually see the effects of deactivating database items!